
Organization and member management
If you understand fleets, you will recognize that Jelina manages all device-related resources through fleets, and fleets belong to organizations.
An organization is the largest workspace in JelinaCloud and can contain multiple fleets, teams, and members.
Access to organization resources is checked against member roles and resource grants. Responsibilities are divided as follows:
| Management area | Responsibility |
|---|---|
| This page: organization and member management | Create organizations, invite members, set organization roles, and leave organizations |
| Team management | Group organization members and assign fleet access roles to groups |
| Member permission management | Inspect individual fleet permissions and team memberships and adjust grants |
See roles and permissions for each role’s capabilities.
For large enterprises, organizations allow you to:
- Manage applications collaboratively.
- Flexibly control member permissions across fleets.
- Divide responsibilities through teams for efficient resource management.
Create an organization
Section titled “Create an organization”Select Organizations in the left menu, then Create organization.
Enter a name of up to 64 characters, optionally add a description of up to 200 characters, and select Create.
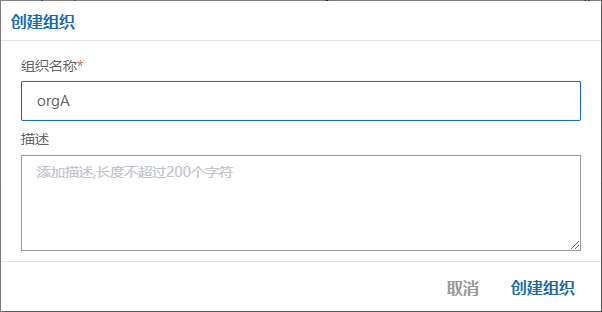
The new organization appears in the list of organizations you can access.
The creator becomes the organization Master with all organization permissions. Only the creator (Master) can delete it, and each organization has one Master.

Organization overview
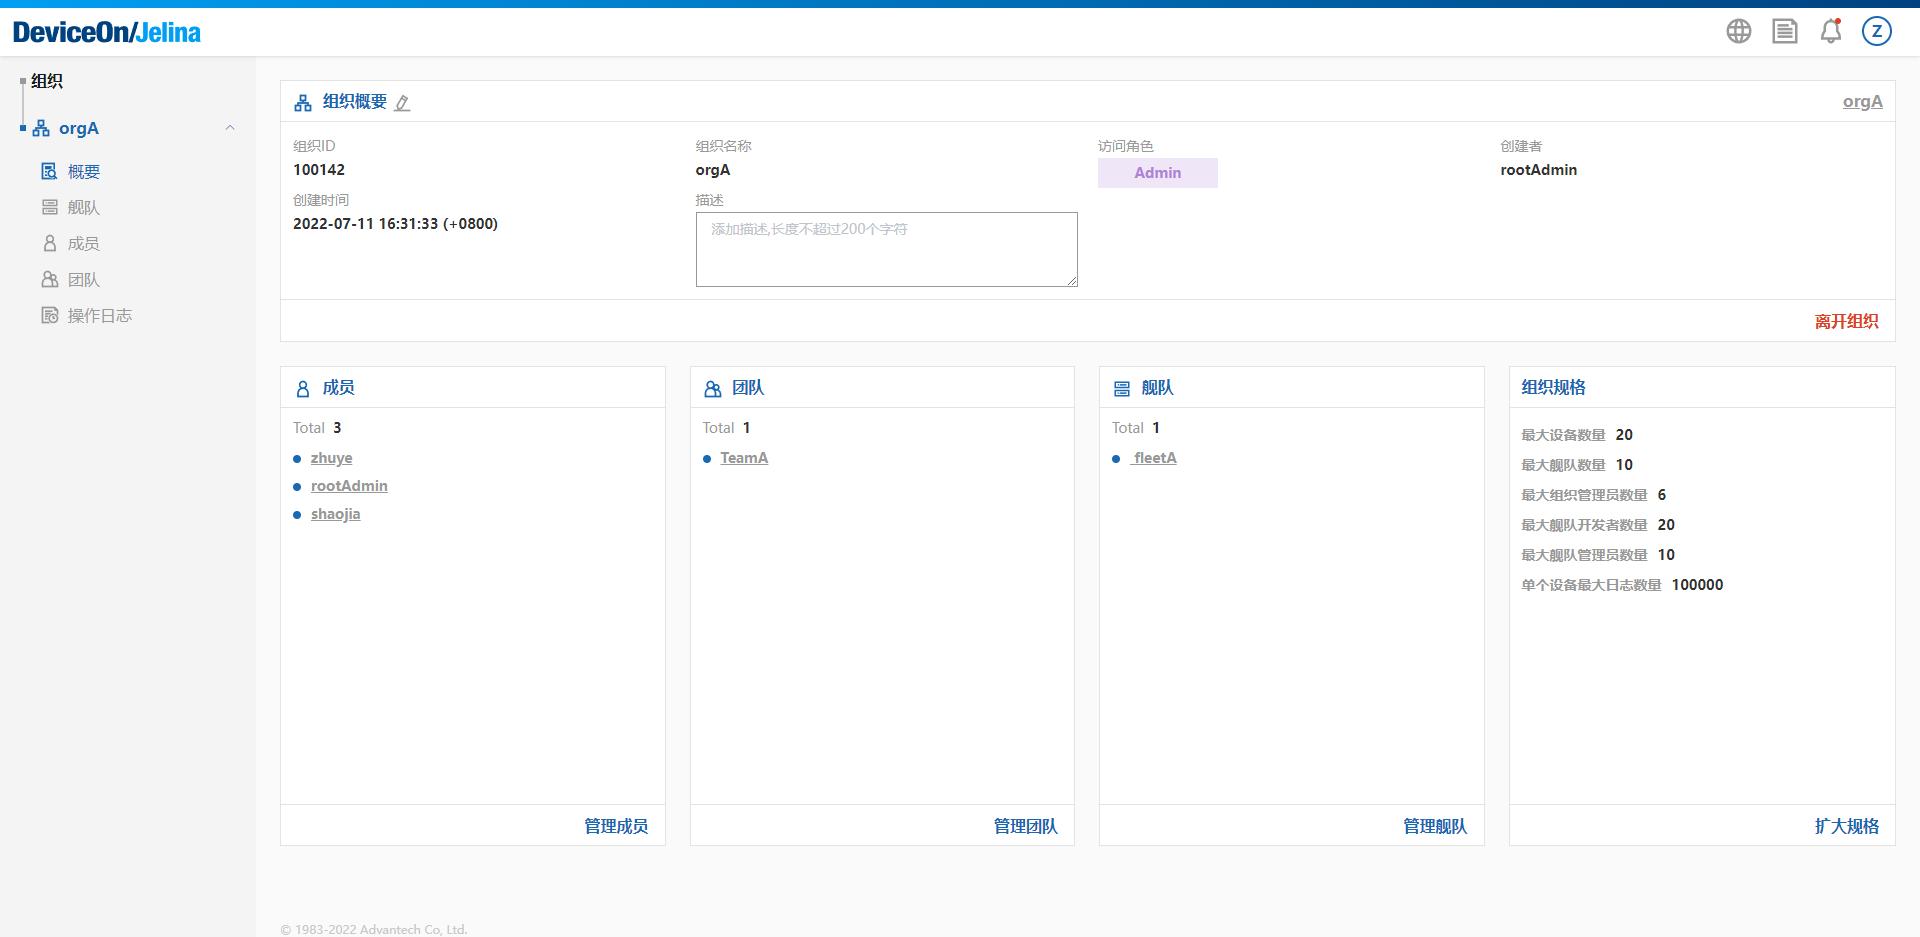
Section titled “Organization overview”The overview displays organization information, members, fleets, teams, and the organization plan.
Invite organization members
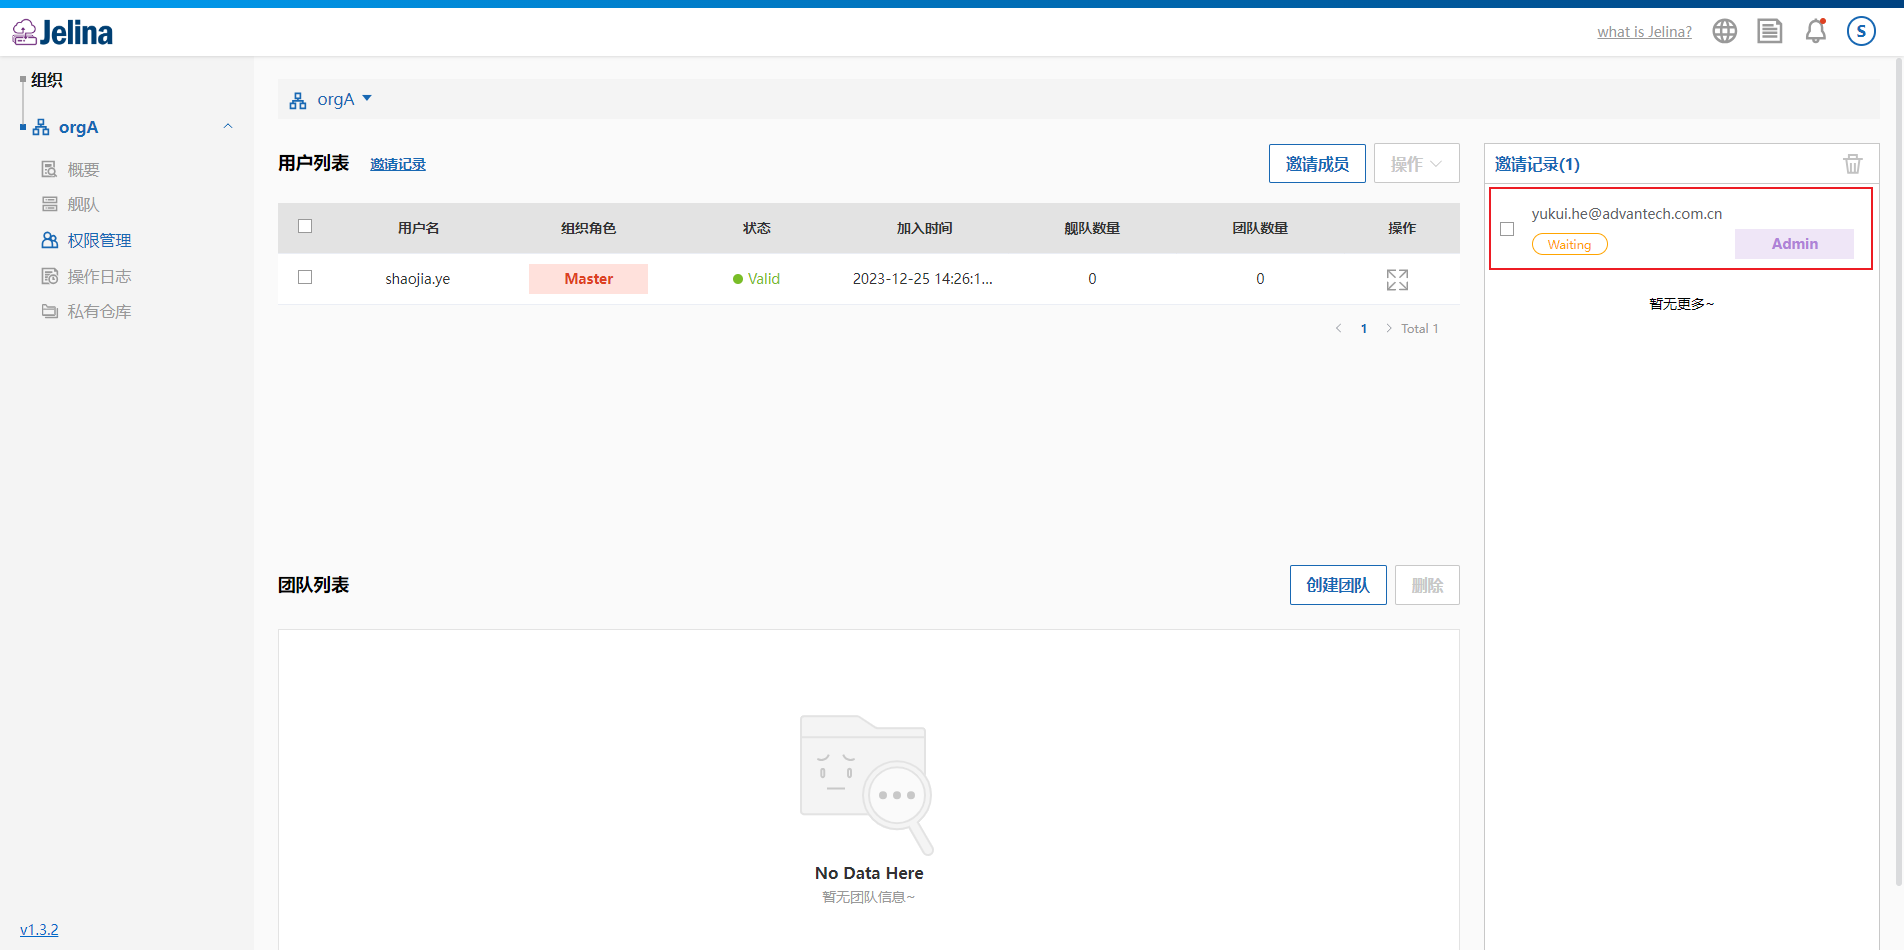
Section titled “Invite organization members”Open organization permission management and select Invite member. Organization Master or Admin permissions are required.
Users invited into an organization gain access to all its fleets, with specific operations controlled by the organization role assigned in the invitation.
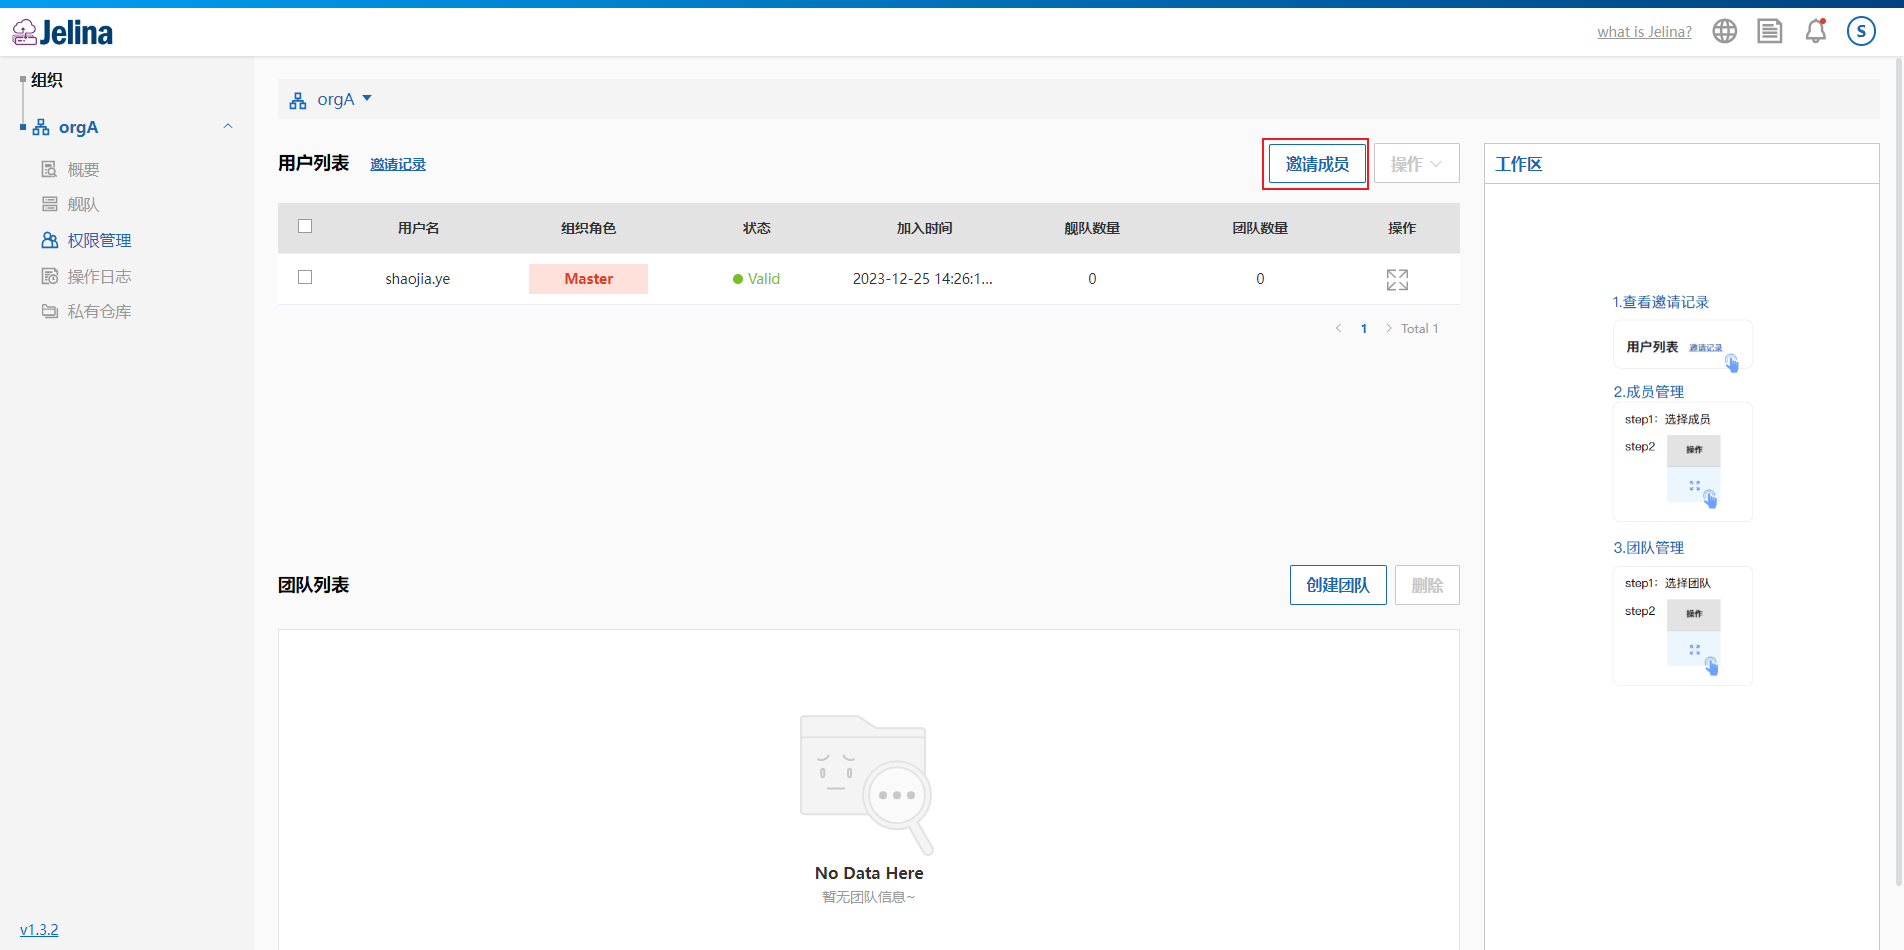
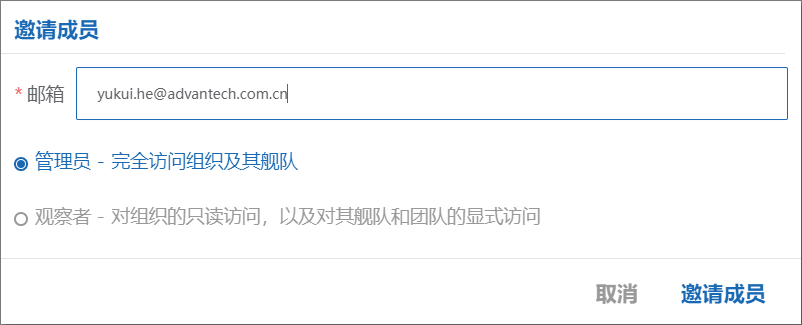
Enter the user’s email address, select their organization role, and select Invite member.
The invitation appears in the invitation records list.
For validity periods, record statuses, and common questions, see the FAQ.
The user joins only after accepting the invitation.
If the email address is wrong or you change your mind, delete the invitation from the records list on the right before acceptance to invalidate its link.
Accept an organization invitation
Section titled “Accept an organization invitation”In the invitation email, select Review Invitation to open the invitation page.
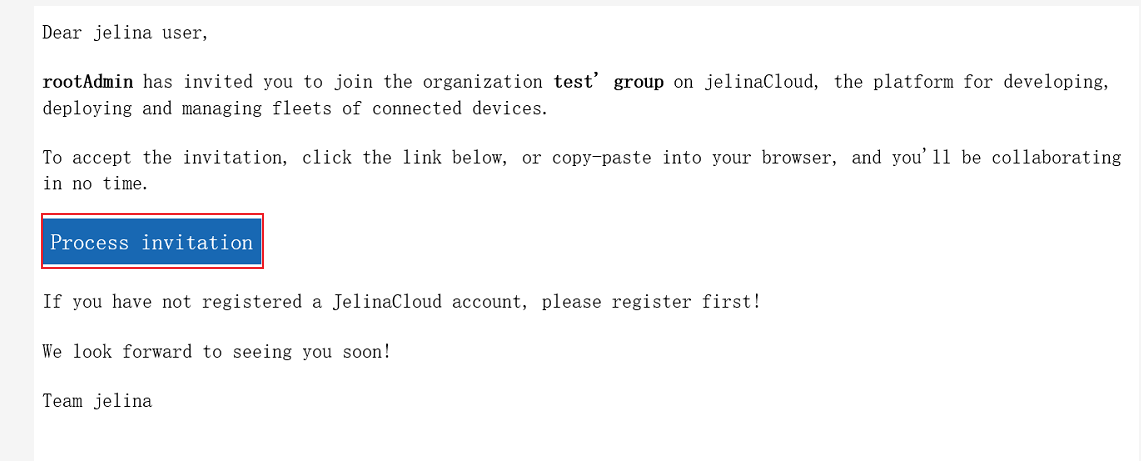
Select Accept on the invitation page.
Ensure that you are registered and signed in to JelinaCloud before doing so.

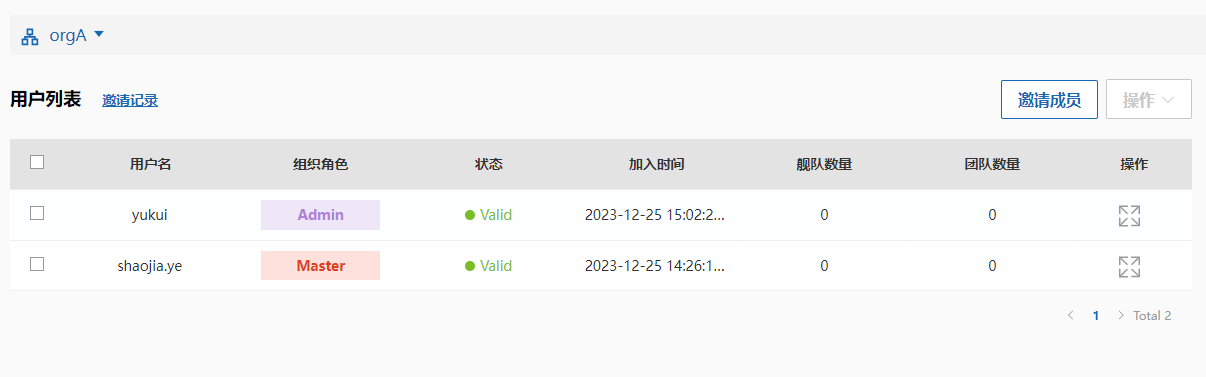
Only after these steps does the invited user join the organization and appear in the member list.
Edit organization member roles
Section titled “Edit organization member roles”
- Only the organization Master and Admins can edit member roles.
- The Master role cannot be changed.
- Admins cannot edit their own role.
- Admins cannot edit another Admin’s role.
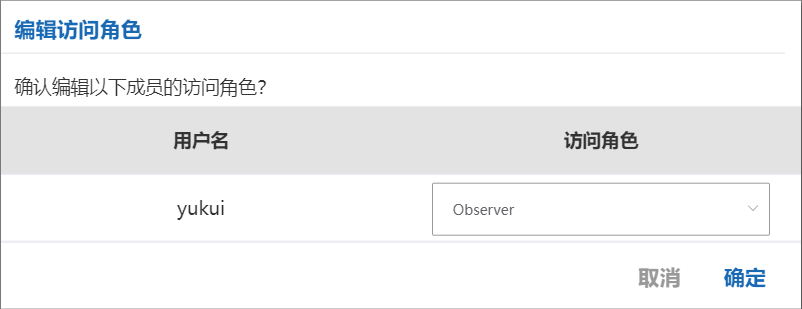
Open organization permission management, select the member, and select Edit.
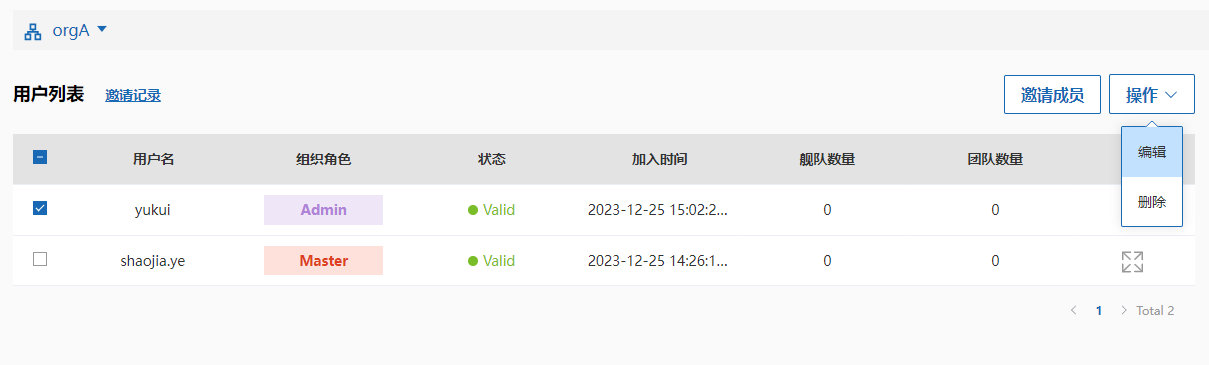
Choose the new role and select OK.
Leave an organization
Section titled “Leave an organization”After joining, users can leave from the organization overview or organization list.
Note: If you are the organization Master, leaving causes JelinaCloud to delete the organization.