
Device onboarding
Register an edge device in a target JelinaCloud fleet. Afterward, view device status, running services, and logs in the cloud and continue with application deployment.
Before you begin
Section titled “Before you begin”Complete the prerequisites and confirm:
- You have created or joined an organization and have device management permissions for the target fleet.
- You have checked device models and support in JelinaOS and prepared installation media.
- The management computer and device can access JelinaCloud over the network.
Onboarding workflow
Section titled “Onboarding workflow”Open a fleet → select device and system versions → download image and configuration → flash → boot and verify.
Step 1: Open the fleet
Section titled “Step 1: Open the fleet”In JelinaCloud, select the fleet to which you want to add the device, then select Add device.
Step 2: Select the device type
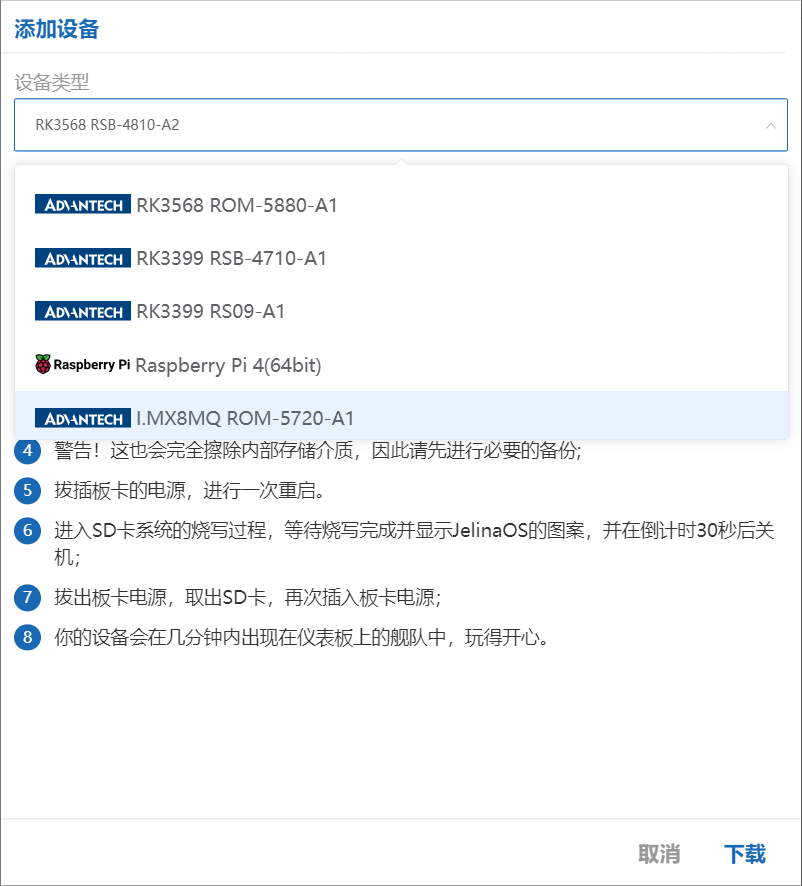
Section titled “Step 2: Select the device type”Select the device type matching your hardware.
Note
- The selected device type cannot be changed. Choose carefully.
- Prefer the fleet’s default device type; otherwise, the device may be unable to follow fleet firmware updates for JelinaOS, Kernel, and Jelinvisor.
Step 3: Select the OS version
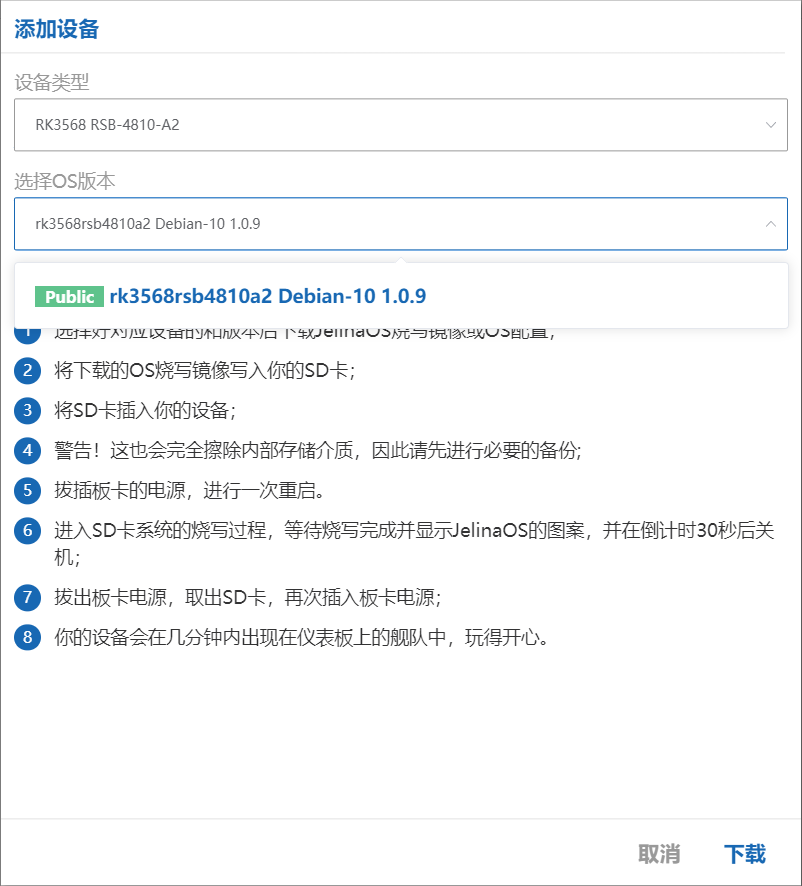
Section titled “Step 3: Select the OS version”Jelina lists OS versions supported by the device type selected in step 2. Select the OS version the device will run.
Step 4: Download the OS image, configuration file, and JelinaFlasher
Section titled “Step 4: Download the OS image, configuration file, and JelinaFlasher”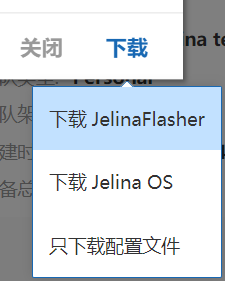
Download options
Download JelinaOSdownloads a complete OS image supported by the selected device type for flashing the Jelina operating system onto the device.
[Original]: Add the configuration file to the image during flashing.[With Configuration]: Flash the image directly.
Download configurationdownloads cloud registration configuration. Each device requires a unique configuration file.
Download JelinaFlasherdownloads the flashing tool, which embeds the configuration in the OS image and writes it to a USB drive or SD card.
Step 5: Flash the OS image
Section titled “Step 5: Flash the OS image”In JelinaFlasher, select flash os + config, choose the downloaded OS image and configuration file, and flash them to a USB drive or SD card.
Insert the medium into the device and boot from it. After startup, JelinaOS overwrites the device’s existing operating system.
Flashing procedures may differ slightly by device type. Carefully read the Instructions in the dialog before flashing.
Step 6: Start the device
Section titled “Step 6: Start the device”After JelinaOS flashing completes, the device shuts down automatically. Start it manually. Once it boots and connects, it registers with JelinaCloud automatically using its configuration. This usually takes less than 30 seconds, provided the device can reach JelinaCloud.
Verify that the device is online
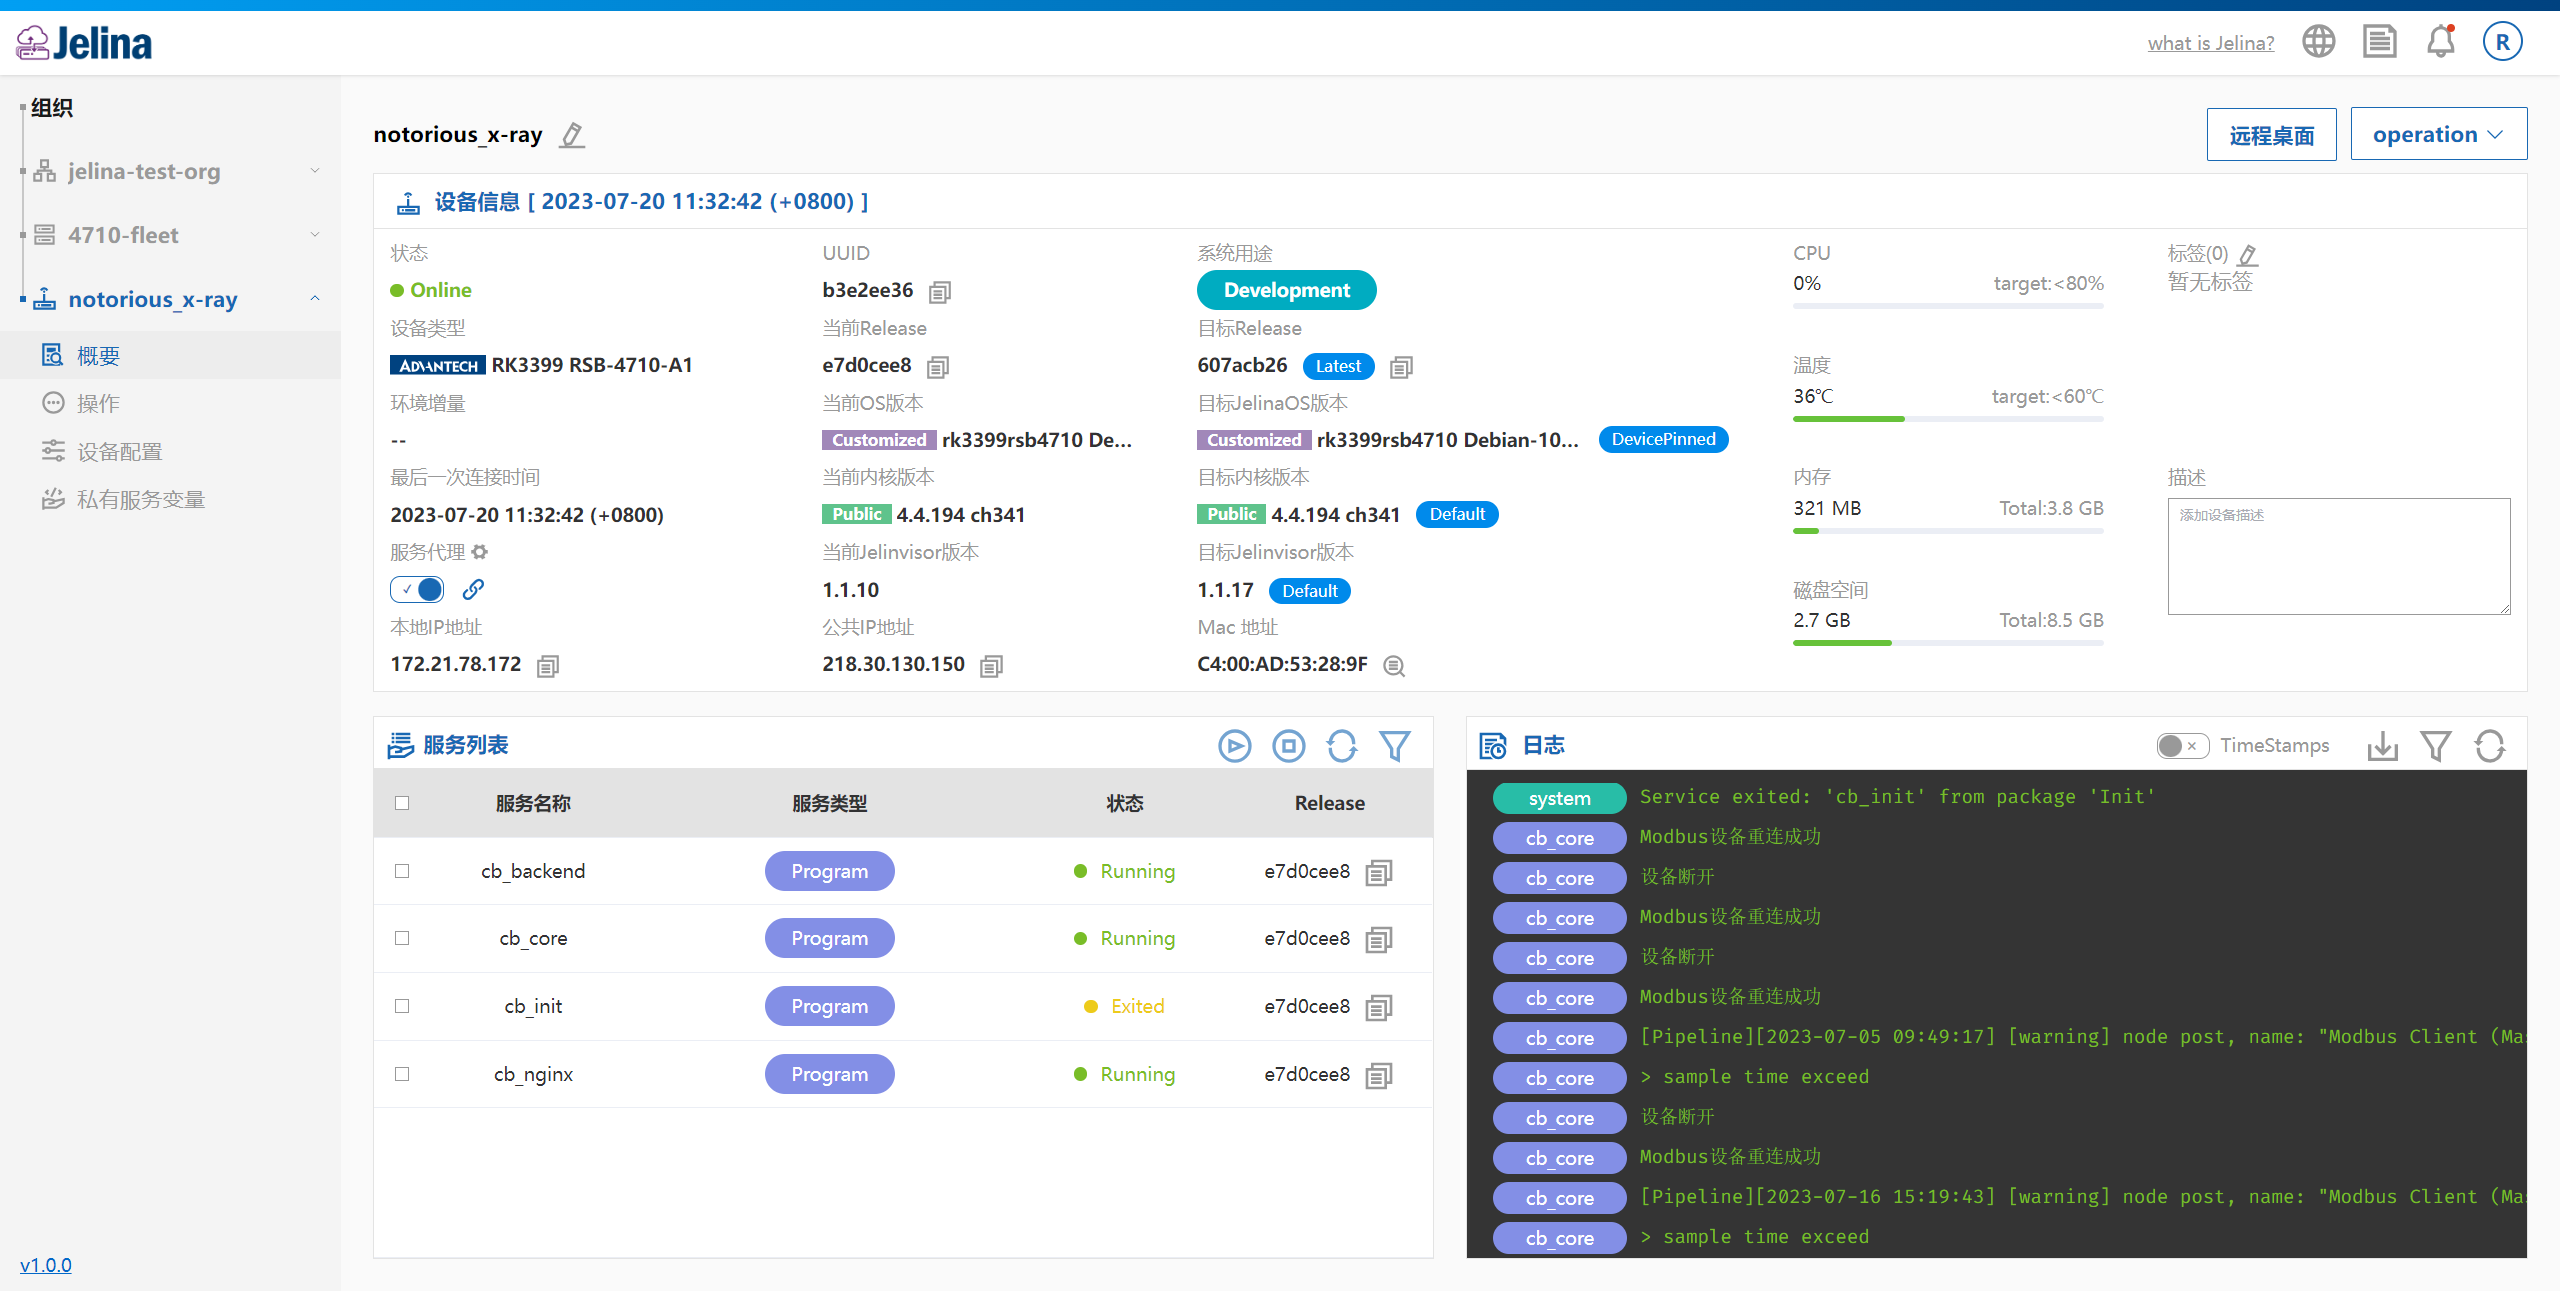
Section titled “Verify that the device is online”After registration, the device appears in the fleet’s device list. Select it to open its overview and view status, running services, and runtime logs.
You can also control application lifecycles, shut down or restart the device, and download logs from this page.
Register again after deleting a device
Section titled “Register again after deleting a device”Note
Registration keys in device configuration files are valid only once. To register a previously registered device after deleting it from JelinaCloud:
Select
Download configurationorDownload JelinaOSagain.Reflash the operating system.
These steps allow the device to register again and reconnect to the cloud.
Next steps
Section titled “Next steps”- Create an application release, then deploy it to a fleet.
- For system installation and recovery, read the JelinaOS installation guide.