Device control
Control device status and version updates through fleets or individually.
Fleet-level operations
Section titled “Fleet-level operations”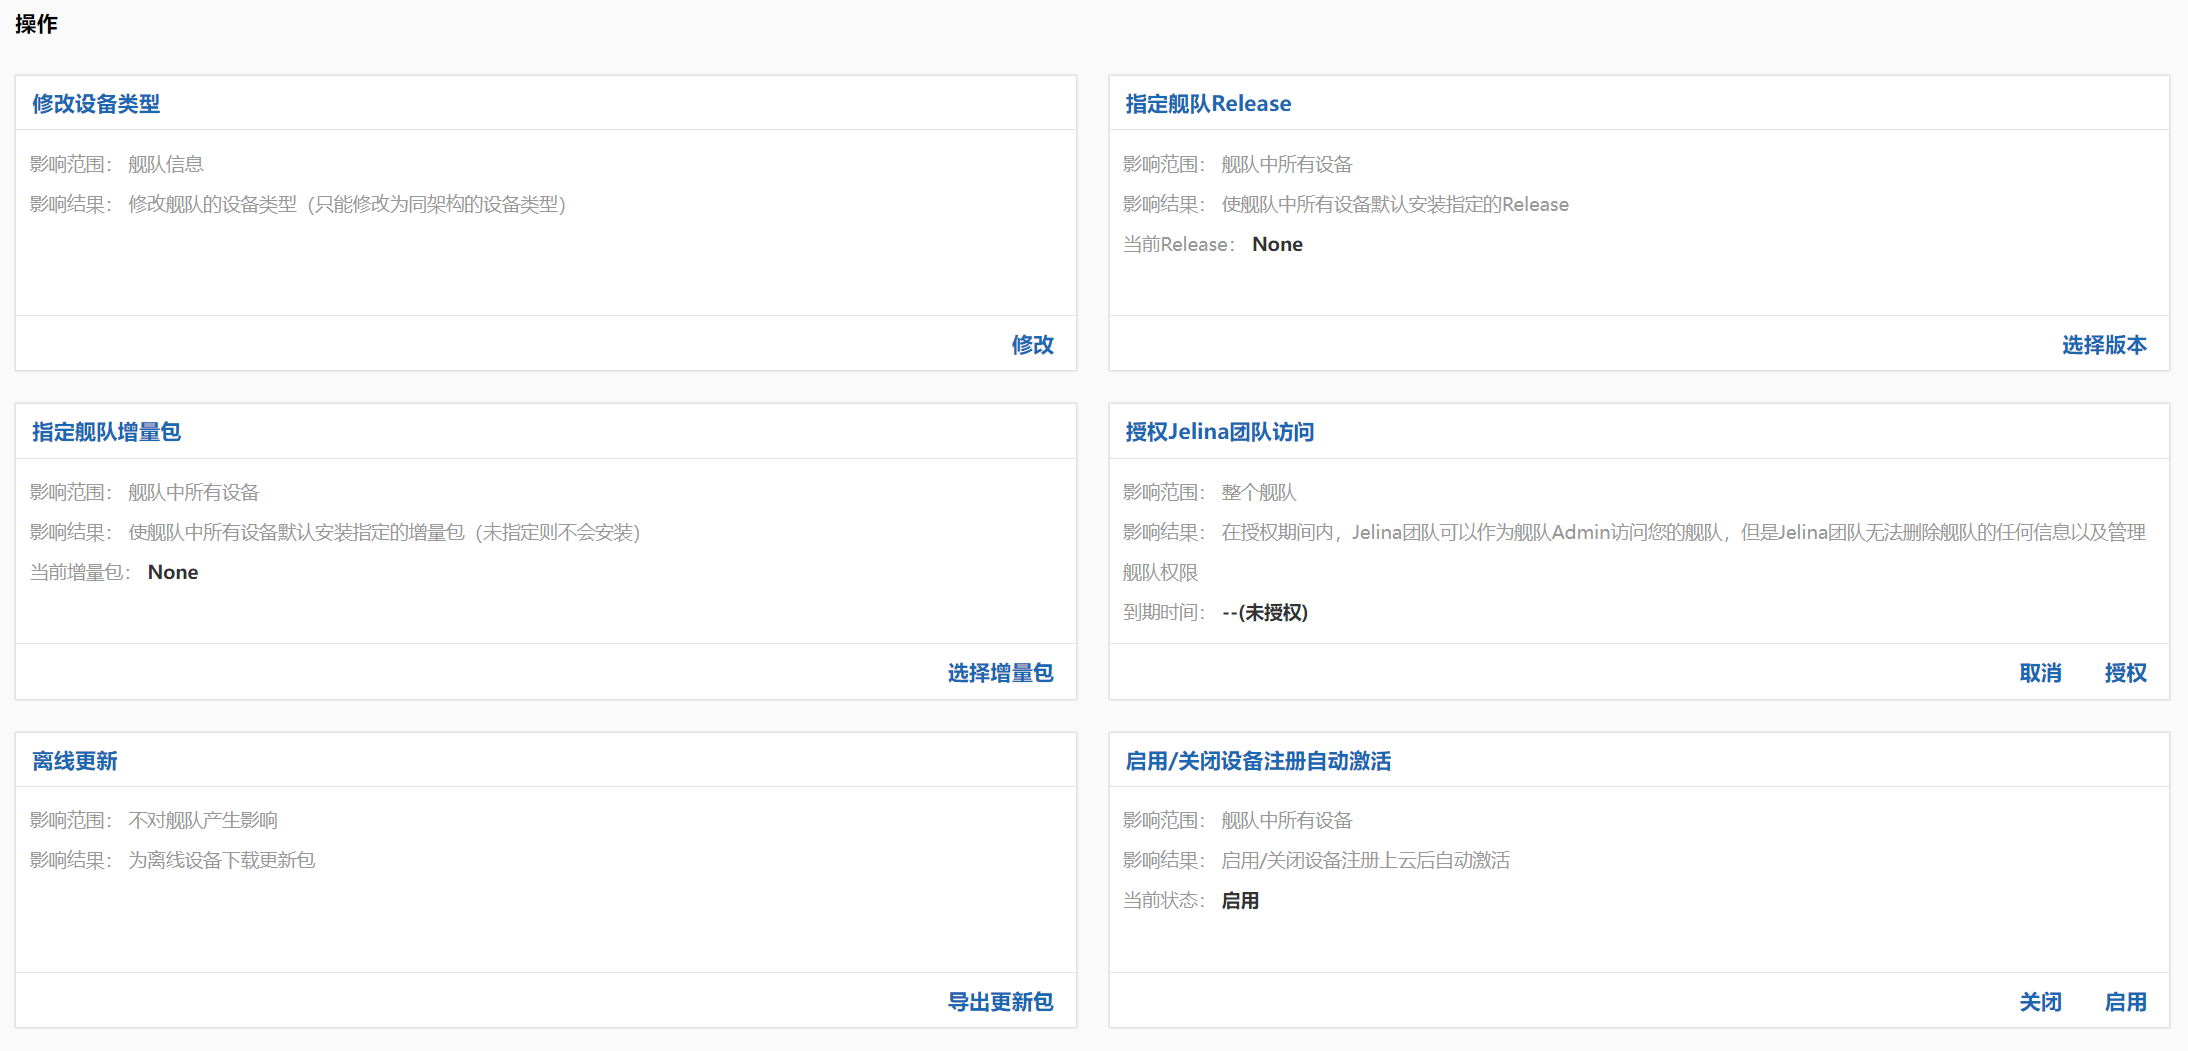
Change device type
Section titled “Change device type”Change the default device type selected when adding devices to the fleet. Existing device types remain unchanged.
Set the fleet Release
Section titled “Set the fleet Release”Specify the Release deployed to fleet devices.
The default is Latest (automatically install the newest Release). Other options are None (do not install a Release) and a specific Release (pin deployment to that version).
Pin an Increment
Section titled “Pin an Increment”Fleet devices do not install incremental packages by default. Explicitly select an Increment to begin installation across the fleet.
Authorize Jelina team access
Section titled “Authorize Jelina team access”Grant the Jelina team access to and operation of fleet resources.
The Jelina team receives fleet administrator access, but cannot:
- Delete fleet resources.
- Manage fleet member roles.
- Modify the fleet permissions granted to it.
Offline OTA updates
Section titled “Offline OTA updates”Download OTA packages for offline devices.
- Supports offline updates of JelinaOS, Jelinvisor, kernel, and Releases.
Enable/disable automatic activation after registration
Section titled “Enable/disable automatic activation after registration”Control whether newly registered fleet devices activate automatically. Devices must be activated to use JelinaCloud services.
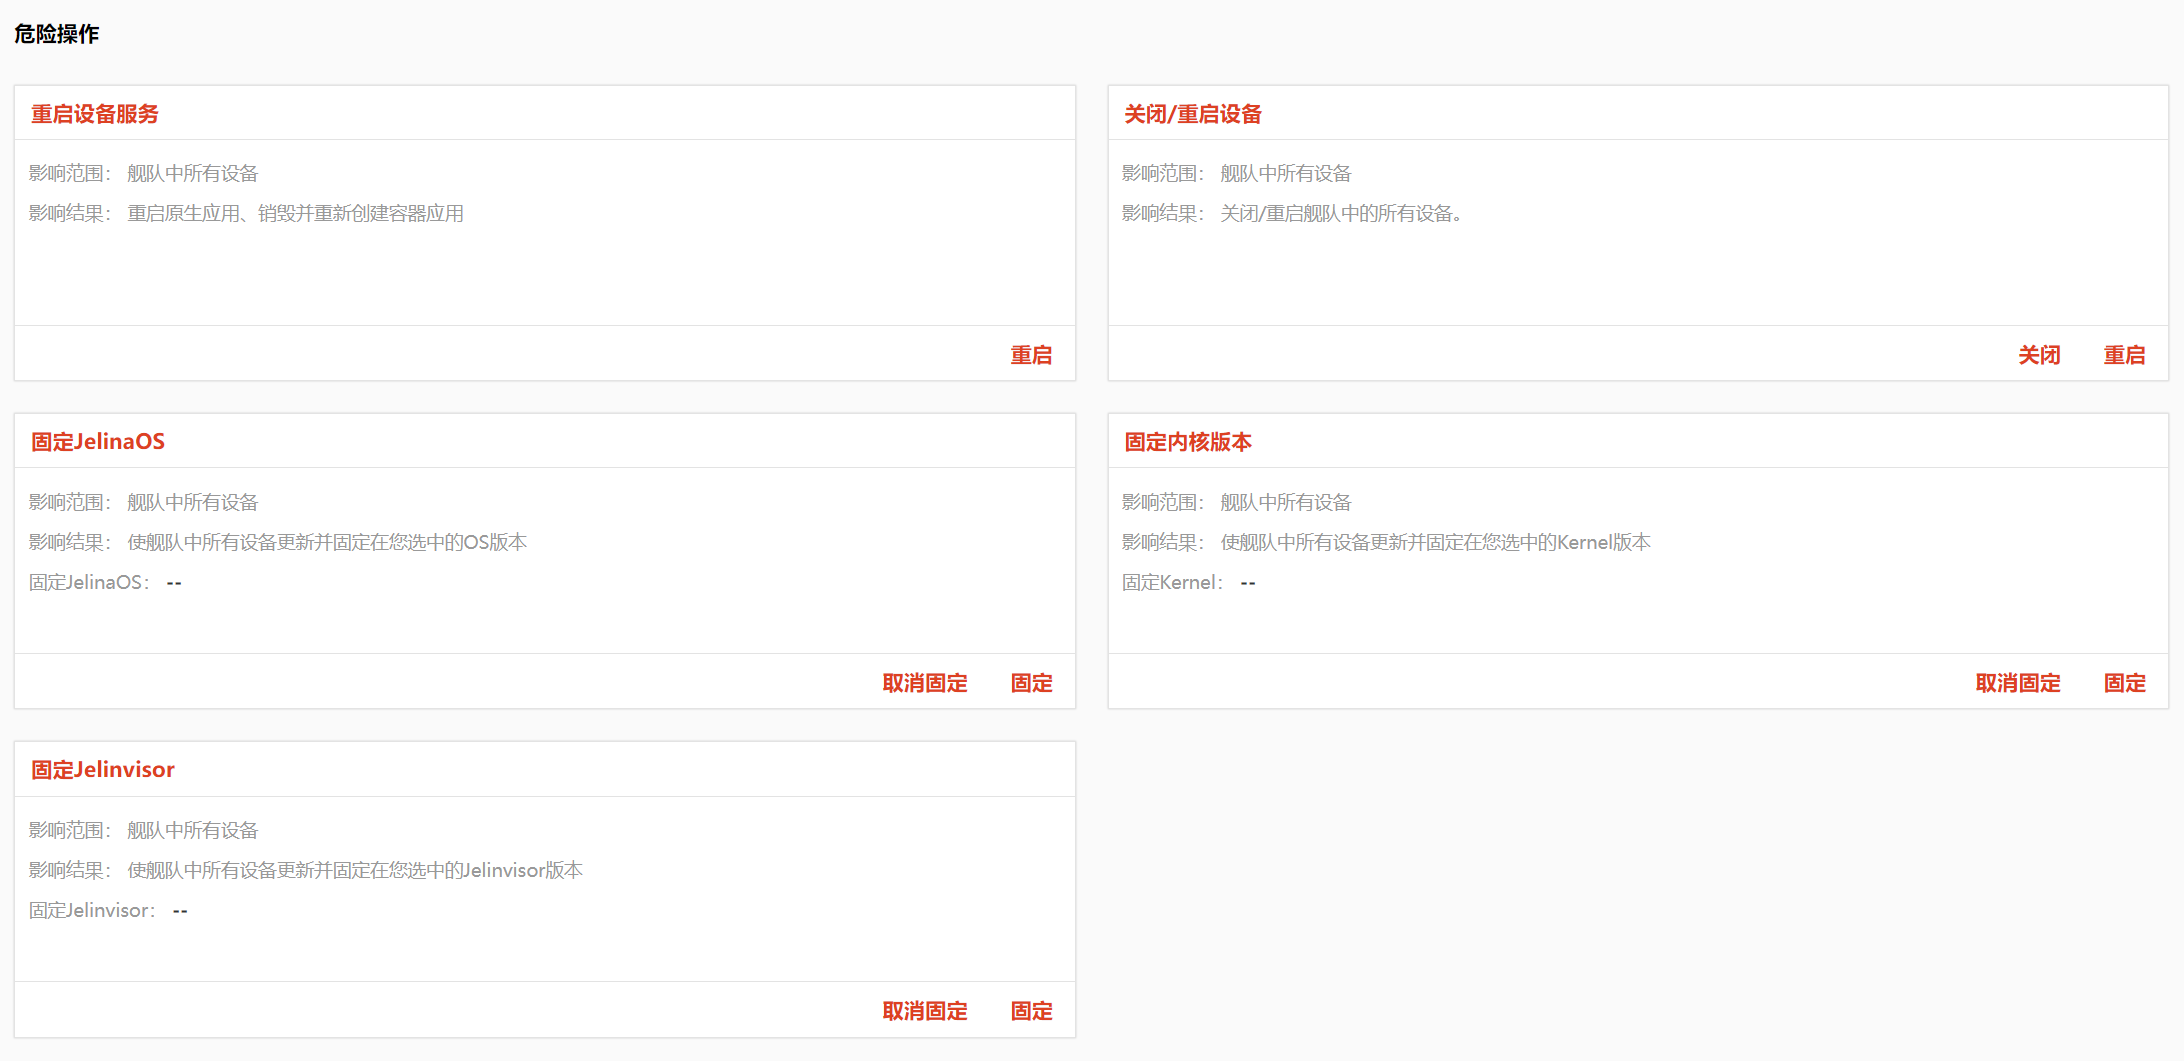
Restart device services
Section titled “Restart device services”Restart application services on every device in the fleet.
Containerized applications: delete and recreate containers; all data stored in container filesystems is lost.
Native applications: stop and restart.
Shut down/restart devices
Section titled “Shut down/restart devices”Shut down or restart every device in the fleet.
Pin an OS version
Section titled “Pin an OS version”Update all fleet devices, including subsequently added devices, to a specified OS version.
Note: Only devices meeting all these conditions update:
- Their device type supports the OS version.
- Their OS version is lower than the pinned version.
- Their OS purpose (Developement/Production), Machine, and architecture match the pinned version.
- They do not have an individually pinned OS version.
Pin a kernel version
Section titled “Pin a kernel version”Update all fleet devices, including subsequently added devices, to a specified kernel version.
Note
Pin the fleet’s JelinaOS version before pinning a kernel version.
Only devices meeting these conditions update:
- The current JelinaOS version supports that kernel version.
- The current JelinaOS version and kernel version have the same Machine.
- The device does not have an individually pinned kernel version.
Pin a Jelinvisor version
Section titled “Pin a Jelinvisor version”Update all fleet devices, including subsequently added devices, to a specified Jelinvisor version.
Note
Pin the fleet’s JelinaOS version first.
Only devices meeting these conditions update:
- Their Jelinvisor version is lower than the pinned fleet version.
- Their JelinaOS version supports that Jelinvisor version.
- They do not have an individually pinned Jelinvisor version.
Device-level operations
Section titled “Device-level operations”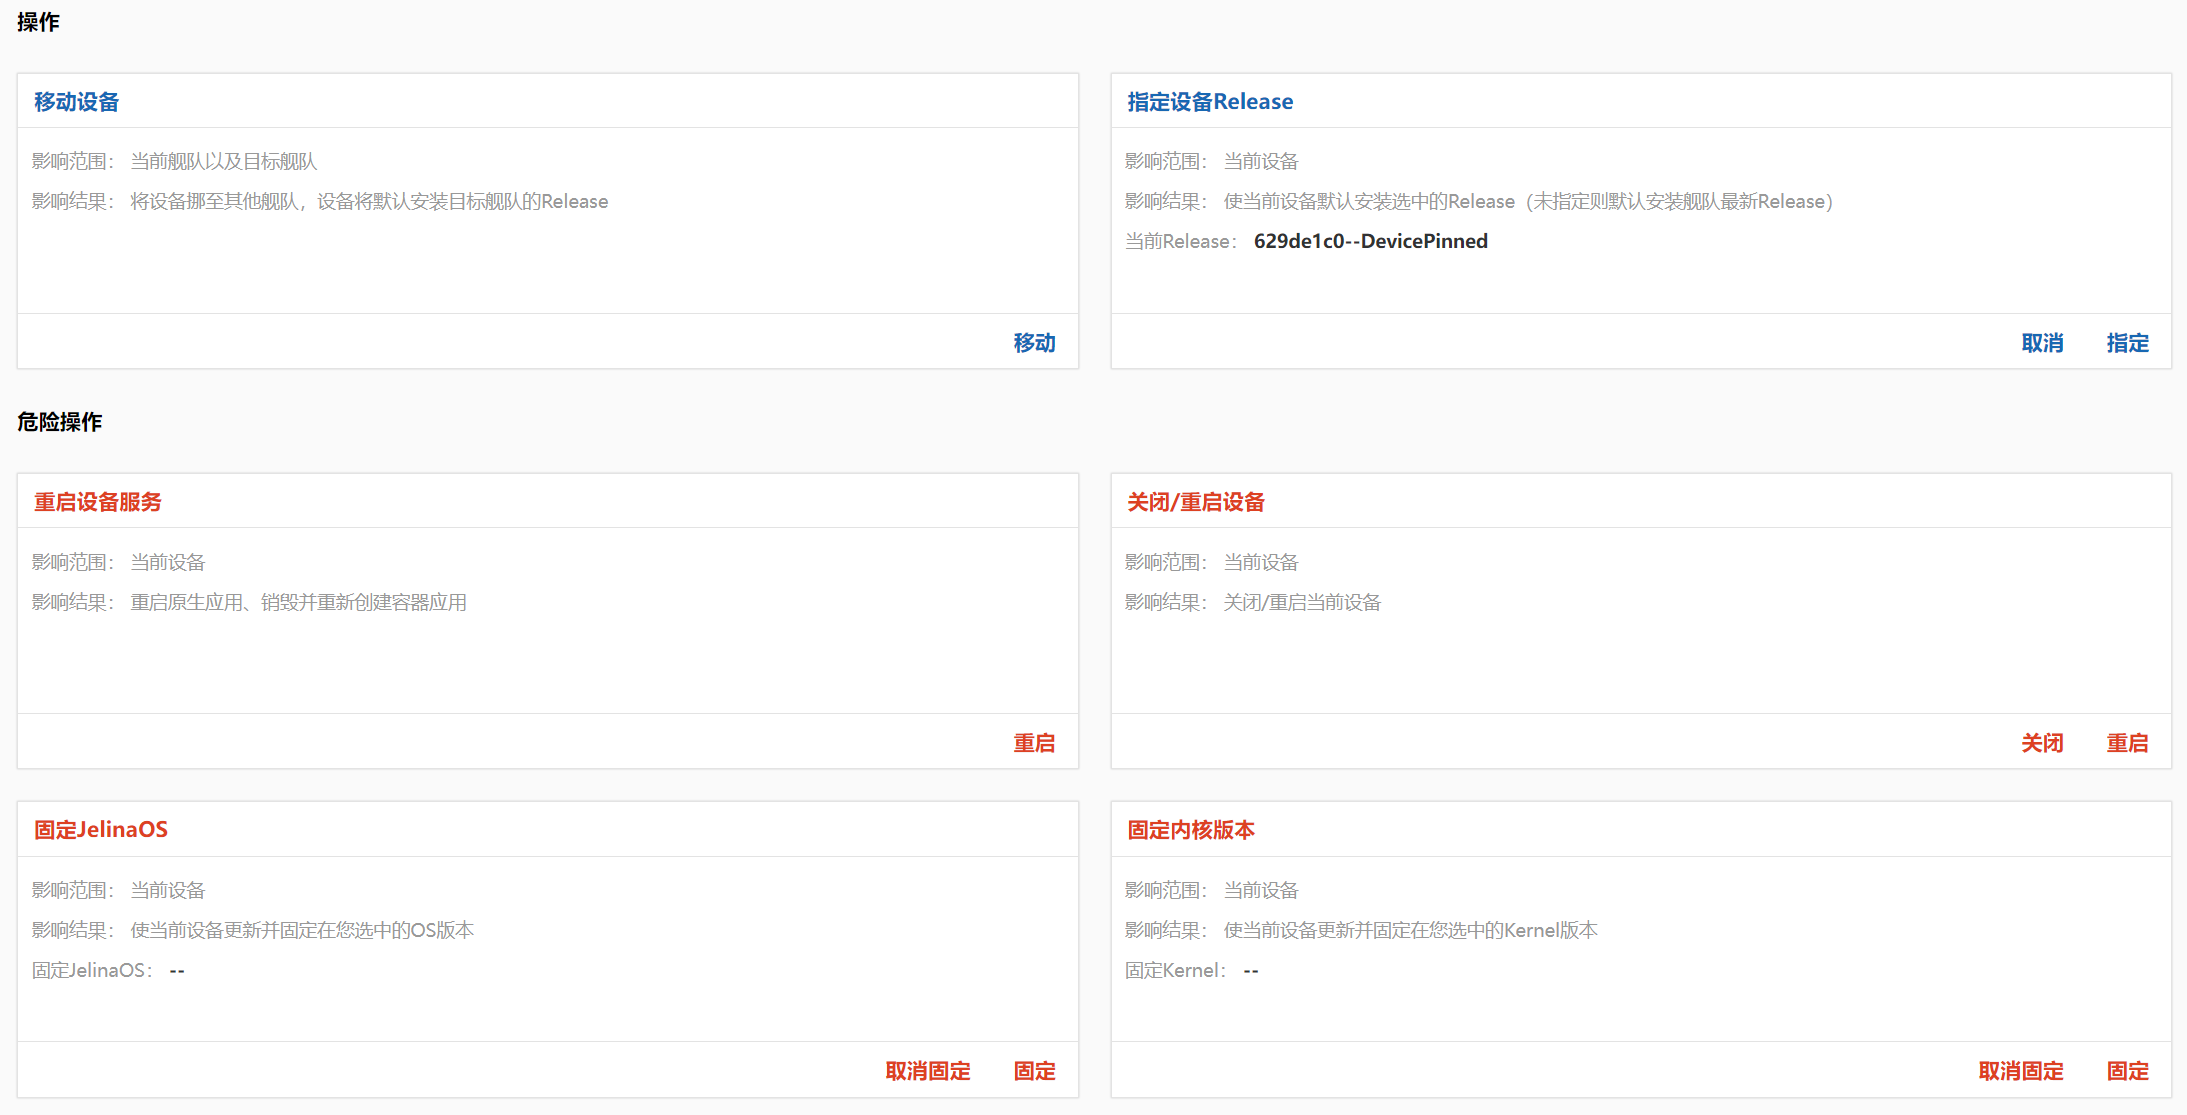

Move a device
Section titled “Move a device”Move the device from its current fleet to another fleet.
You must have administrator permissions for both the source and target fleets.
Set the device Release
Section titled “Set the device Release”Specify the Release the device should deploy.
The default is FollowFleet, which follows the fleet’s selected Release. Other options are Latest, None, or a specific pinned Release.
Set the device Increment
Section titled “Set the device Increment”By default, devices install the fleet-selected Increment. You can also select None to install no Increment, or specify a particular Increment.
Restart device services
Section titled “Restart device services”Restart all containerized and native application services on the device.
- Containerized applications: delete and recreate containers; all data in container filesystems is lost.
- Native applications: stop and restart.
Restart/shut down a device
Section titled “Restart/shut down a device”Restart or shut down the device.
Pin an OS version
Section titled “Pin an OS version”Pin the device to an OS version so it no longer follows the fleet’s OS selection.
Note: Updates require:
- JelinaOS can only be upgraded to a higher version.
- The target OS must belong to the same series and have the same purpose as the current OS.
Pin Jelinvisor
Section titled “Pin Jelinvisor”Pin the device to a Jelinvisor version so it no longer follows the fleet’s Jelinvisor selection.
Note: Updates require:
- Jelinvisor can only be upgraded to a higher version.
Pin a kernel version
Section titled “Pin a kernel version”Pin the device to a kernel version so it no longer follows the fleet’s kernel selection.
Activate/deactivate a device
Section titled “Activate/deactivate a device”Activate or deactivate the device’s access to JelinaCloud services.
Remote device desktop
Section titled “Remote device desktop”Access the device’s SSH terminal or RDP/VNC desktop through a browser.
Note
- The device must be activated and Online, with the relevant protocol service installed and running.
- SSH supports passwords, SSH private keys, and OpenSSH user certificates; RDP and VNC use password authentication.
- SSH key and certificate login requires administrators to save user credentials and manually register and confirm device host identity. Users configure device public keys/CAs themselves; no synchronization acknowledgment is required.
Procedure
Open the device overview and select Remote desktop.
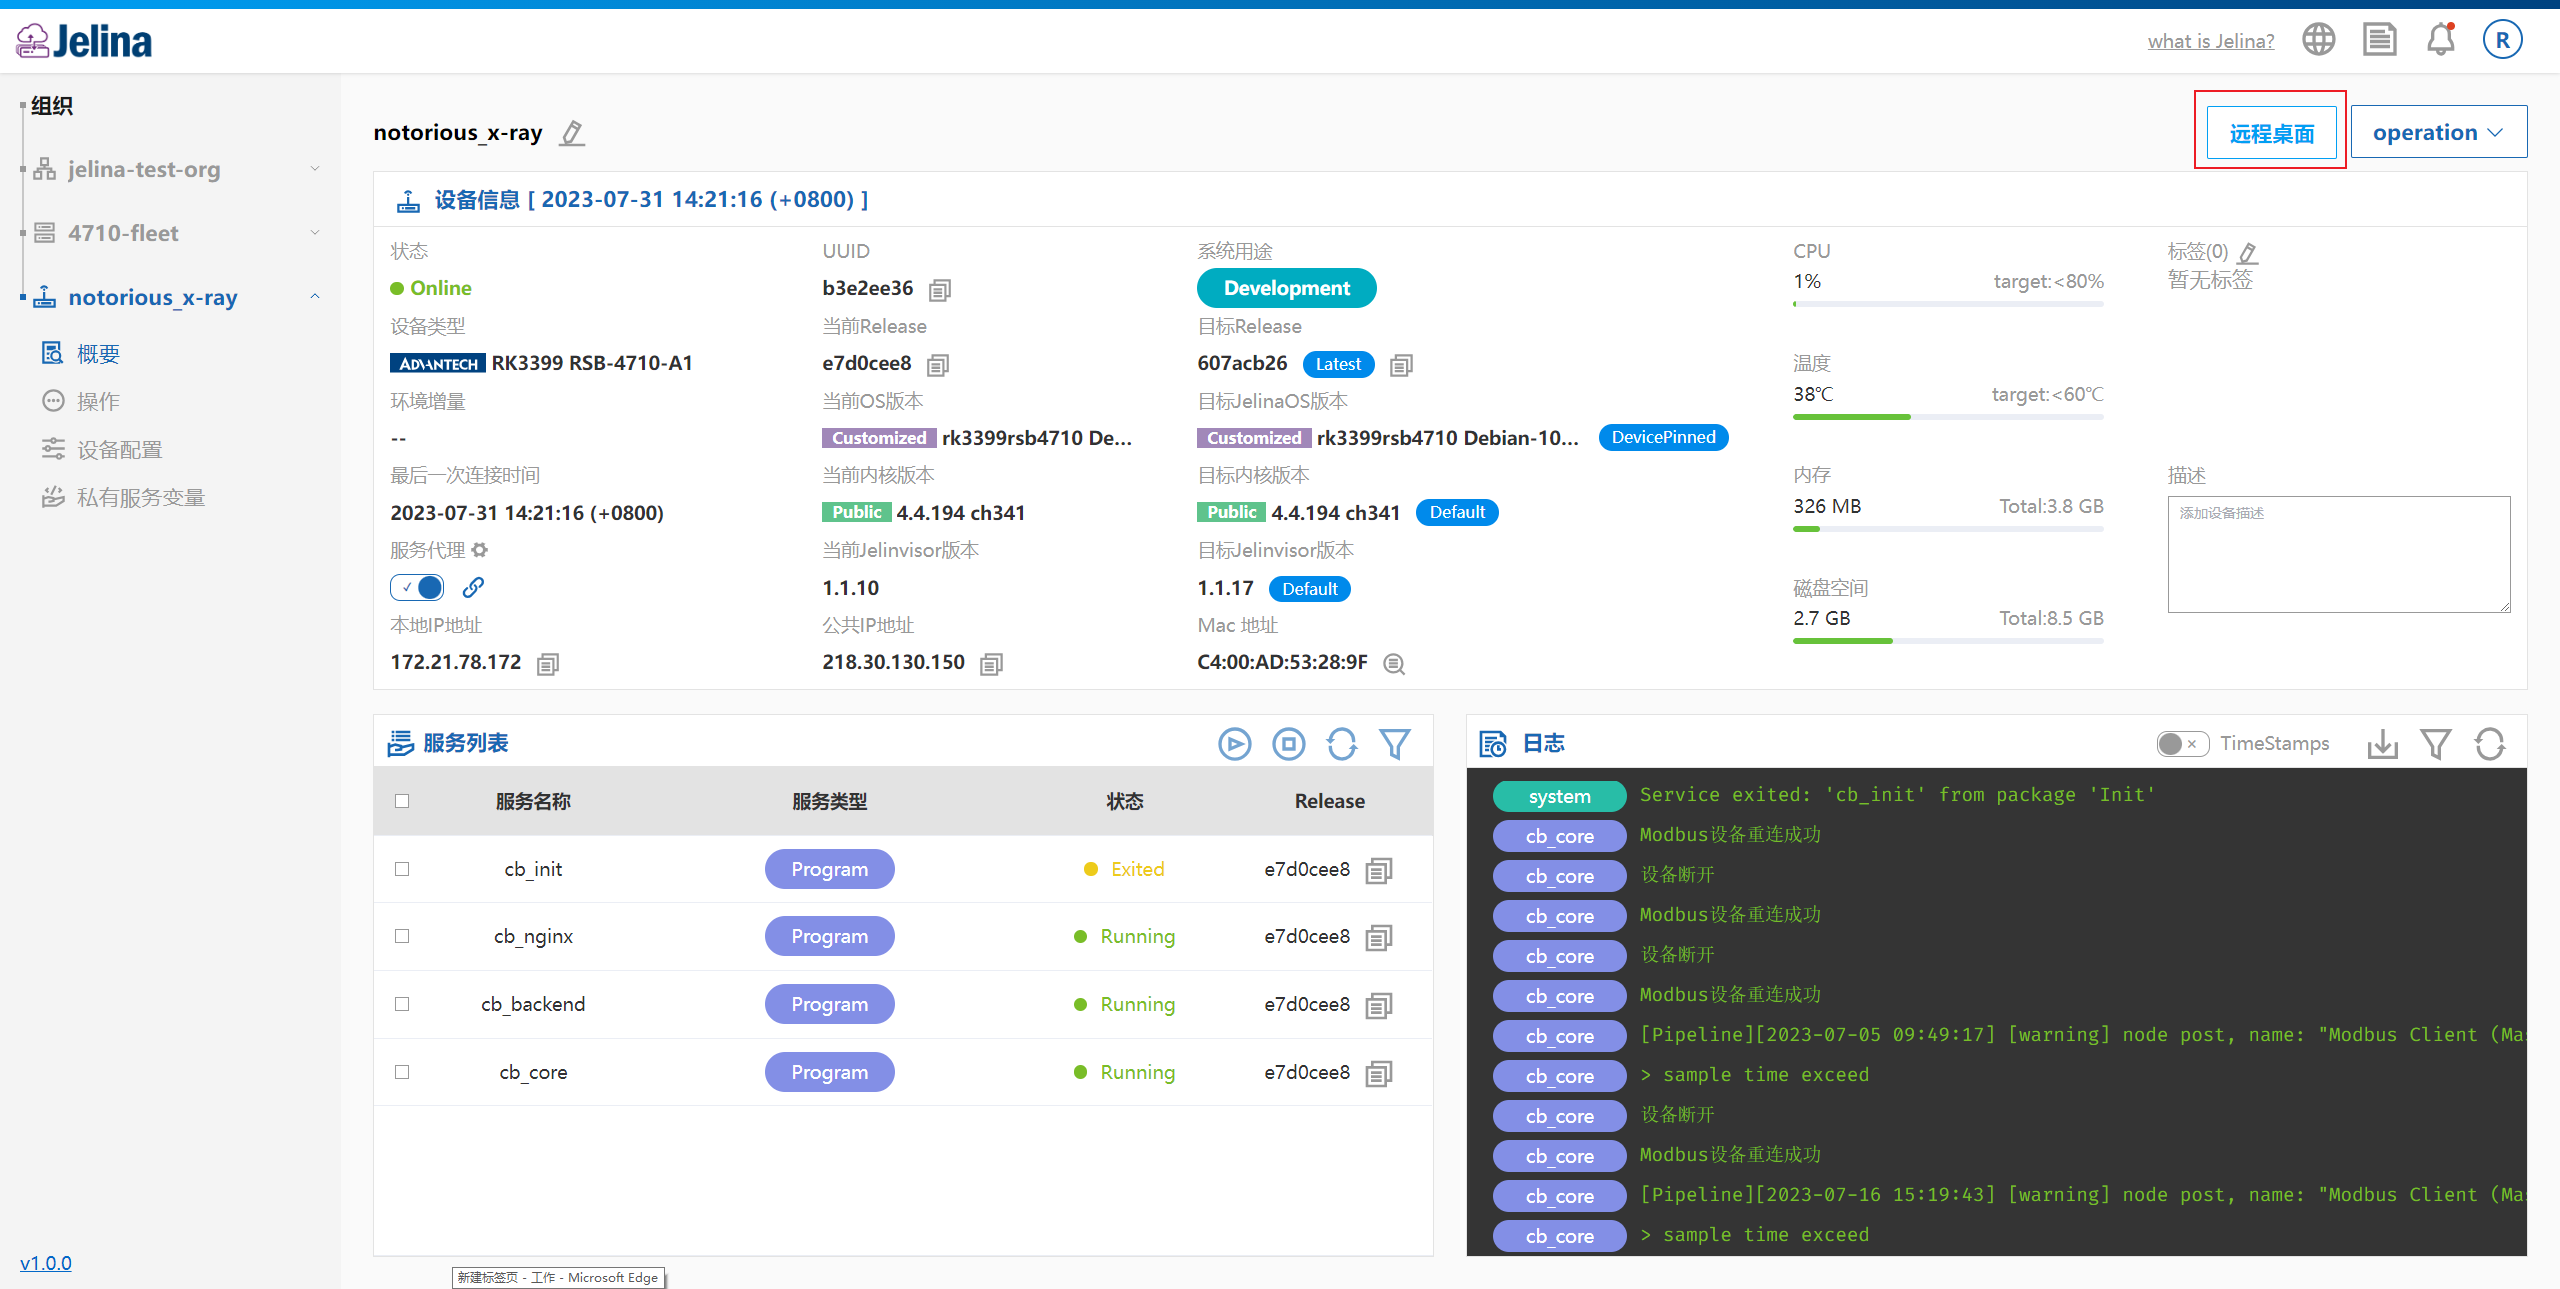
Select a remote protocol. For SSH, enter the system account and authentication method. For RDP/VNC, set the resolution as needed.
| Authentication | Information required when connecting |
|---|---|
| SSH password | System account and password |
| SSH key | System account and stored SSH credential you are authorized to use |
| OpenSSH user certificate | System account and stored user certificate credential you are authorized to use |
| RDP / VNC password | Password; RDP also requires an account, while VNC username may remain empty |
The image below shows password authentication. For key and certificate generation on Windows/Linux management computers, JelinaOS (Linux) device setup, cloud uploads, and connections, see SSH key and certificate authentication.
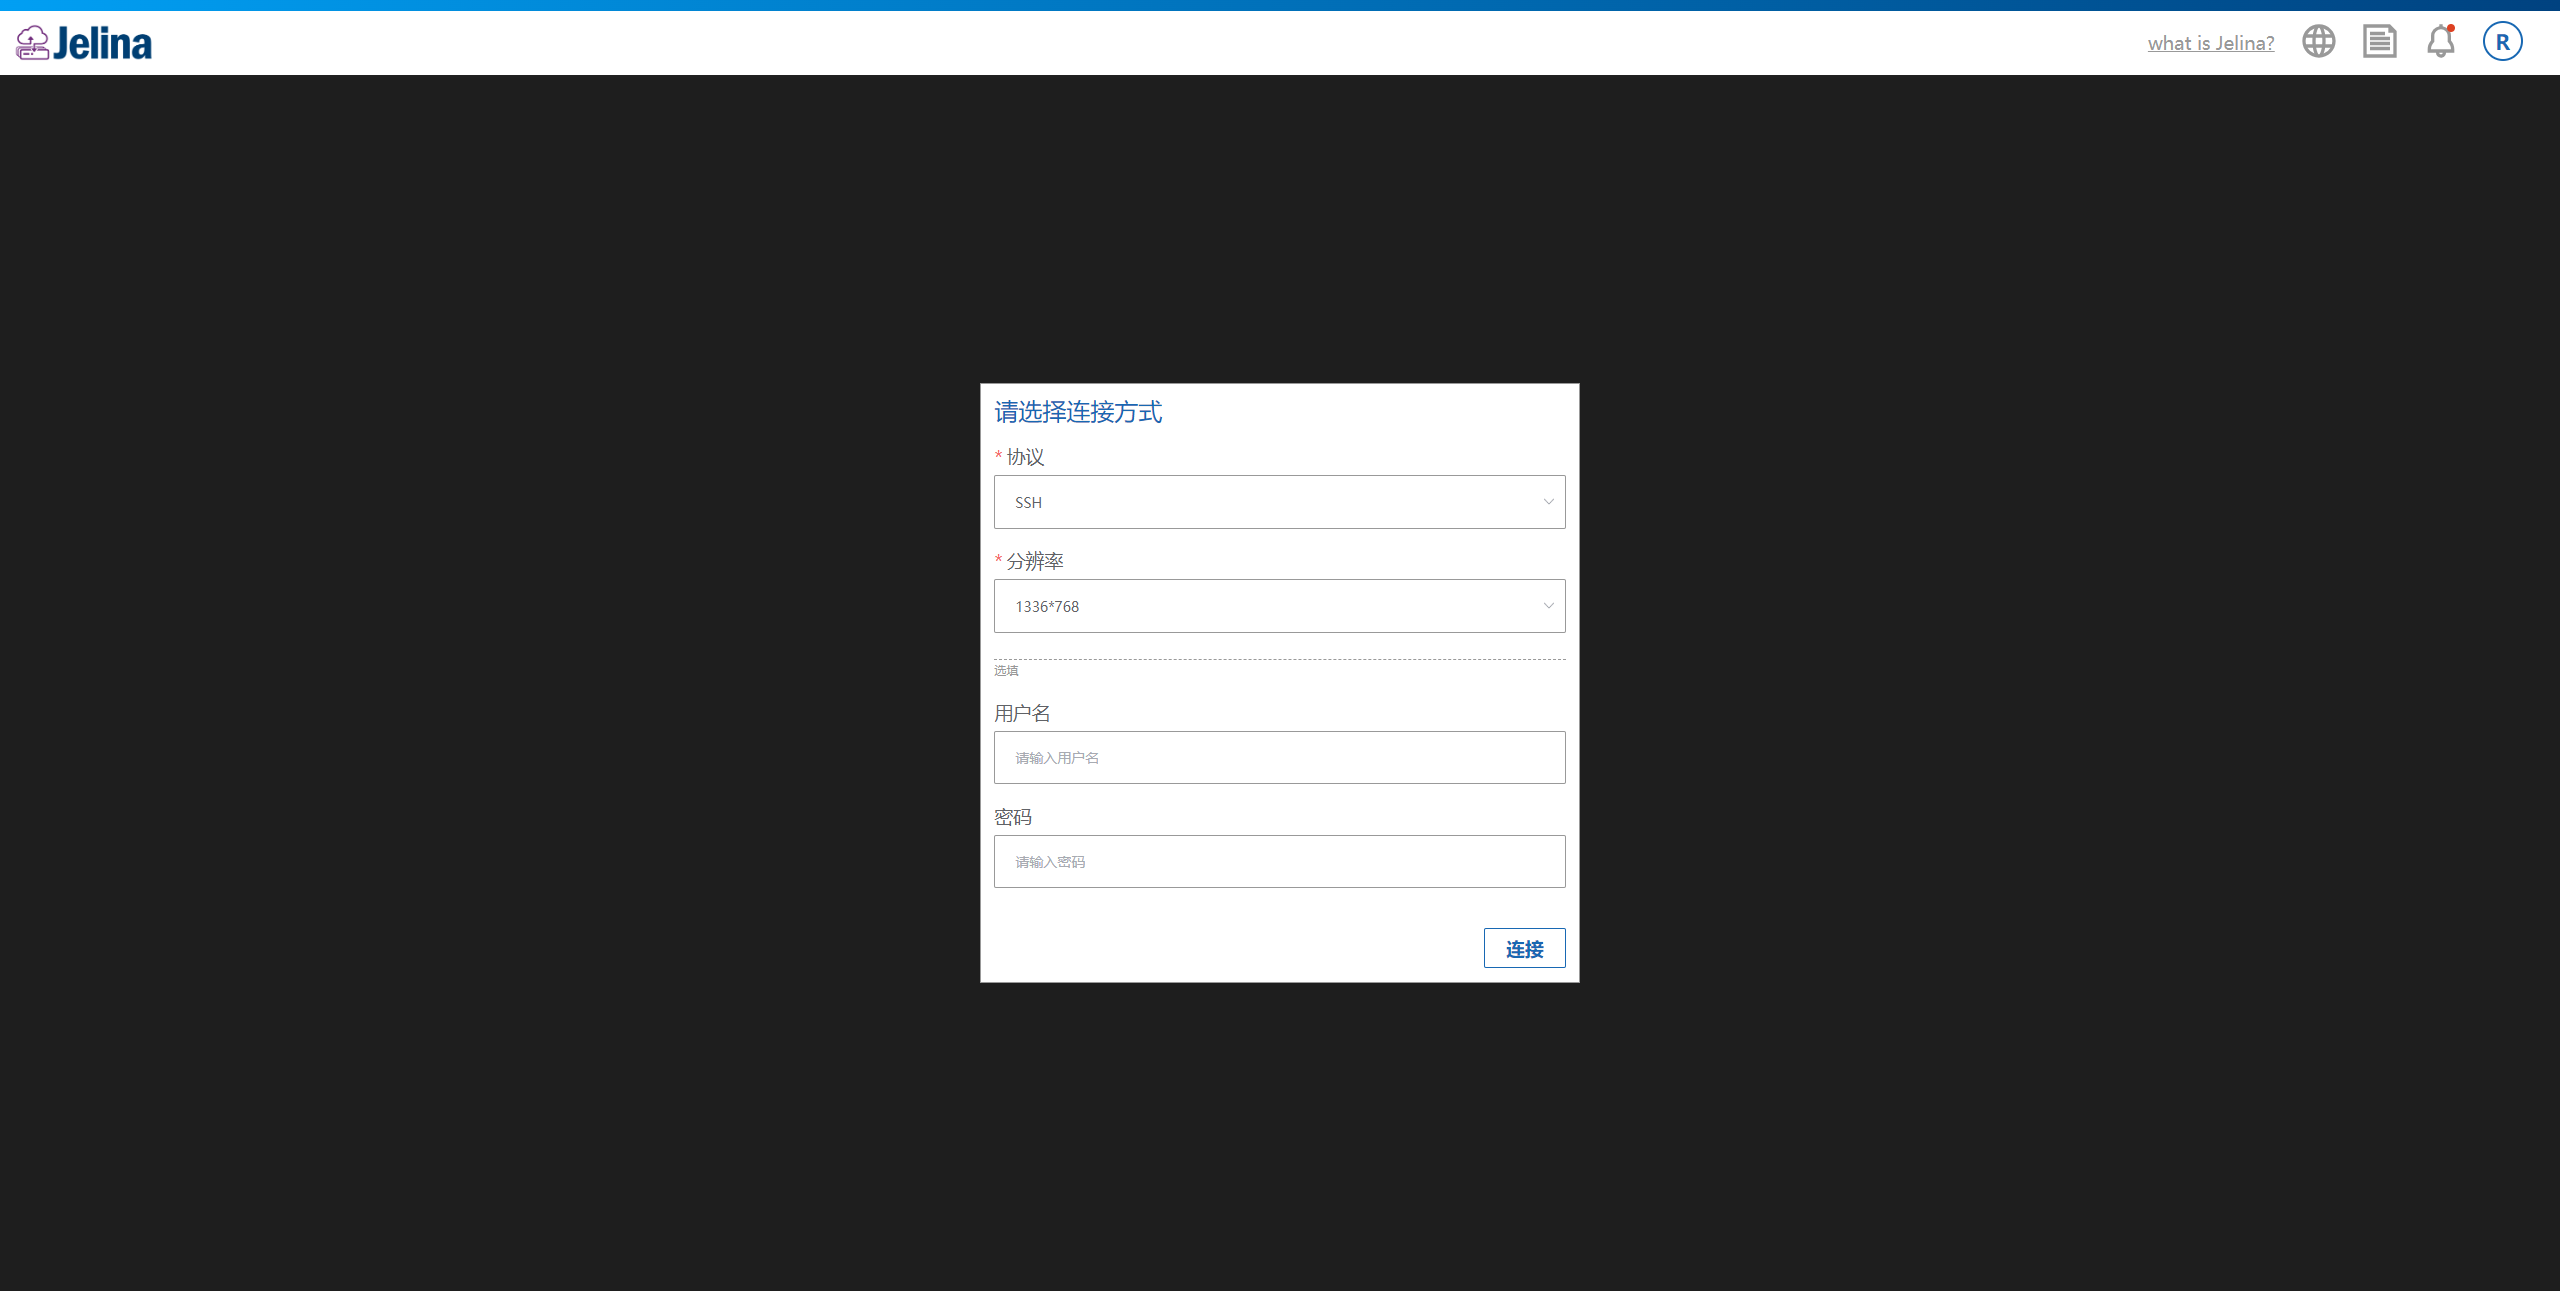
Review connection quotas, idle timeout, and maximum duration, then select Connect. After connecting, use the terminal or desktop; read-only and clipboard operations remain subject to administrator security policies.
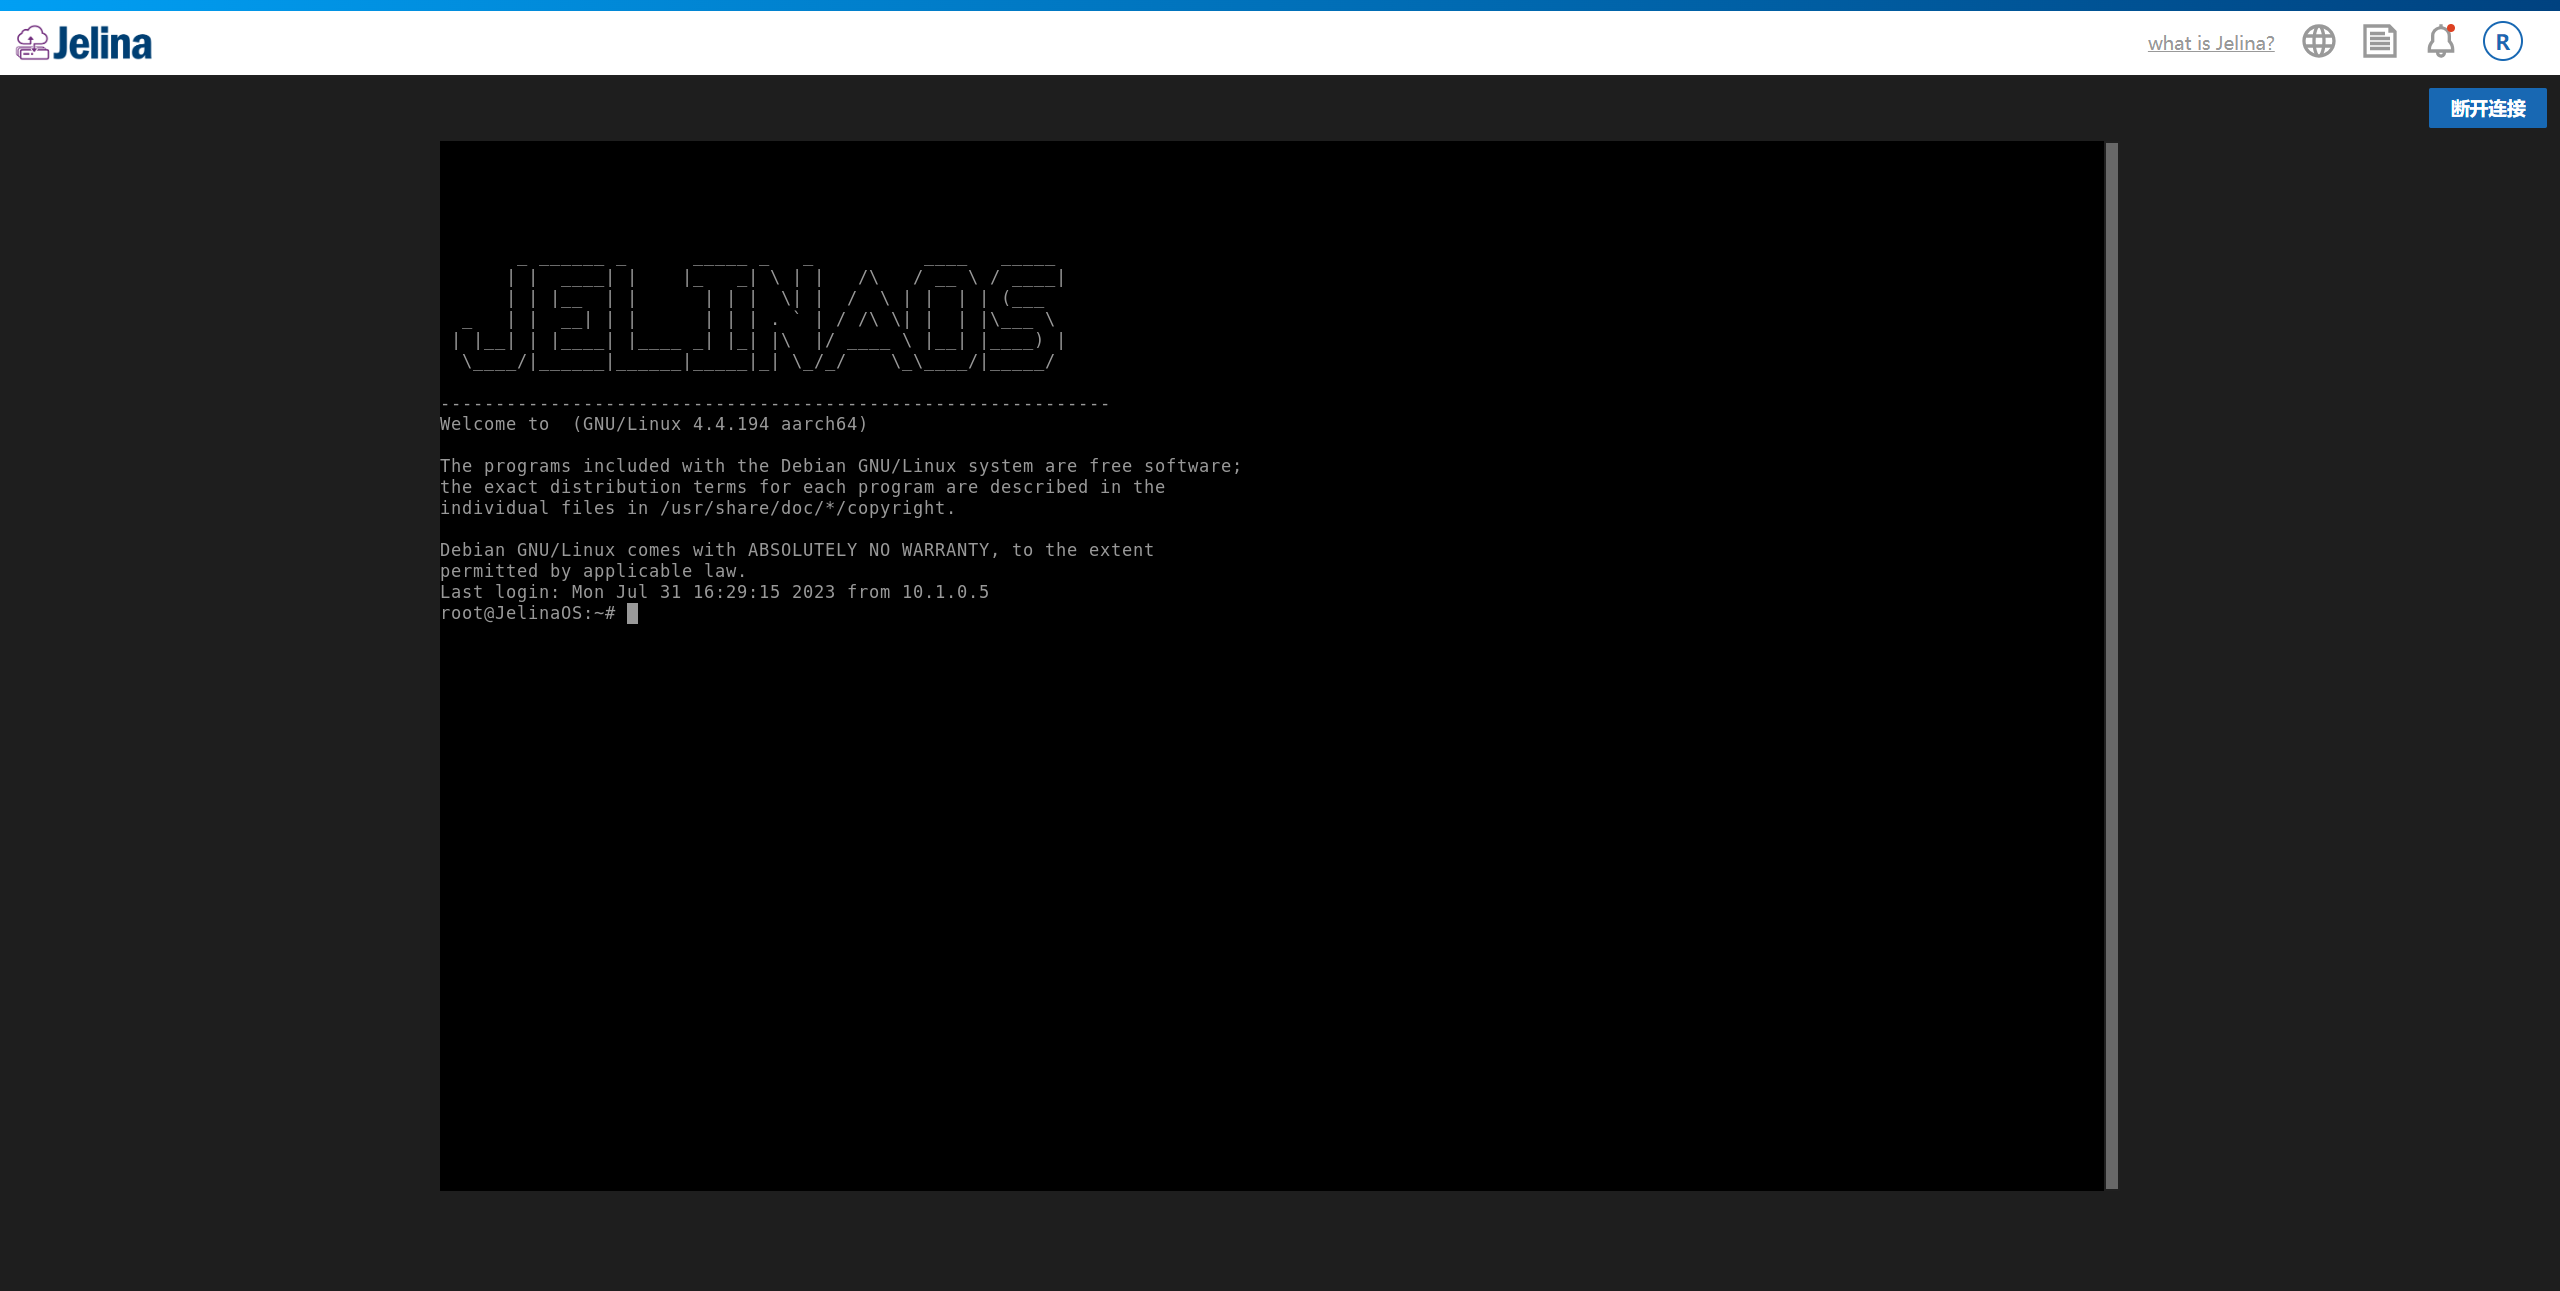
To manage shared credentials, usage permissions, host identities, or disconnect existing sessions, see remote access management.
Service proxy
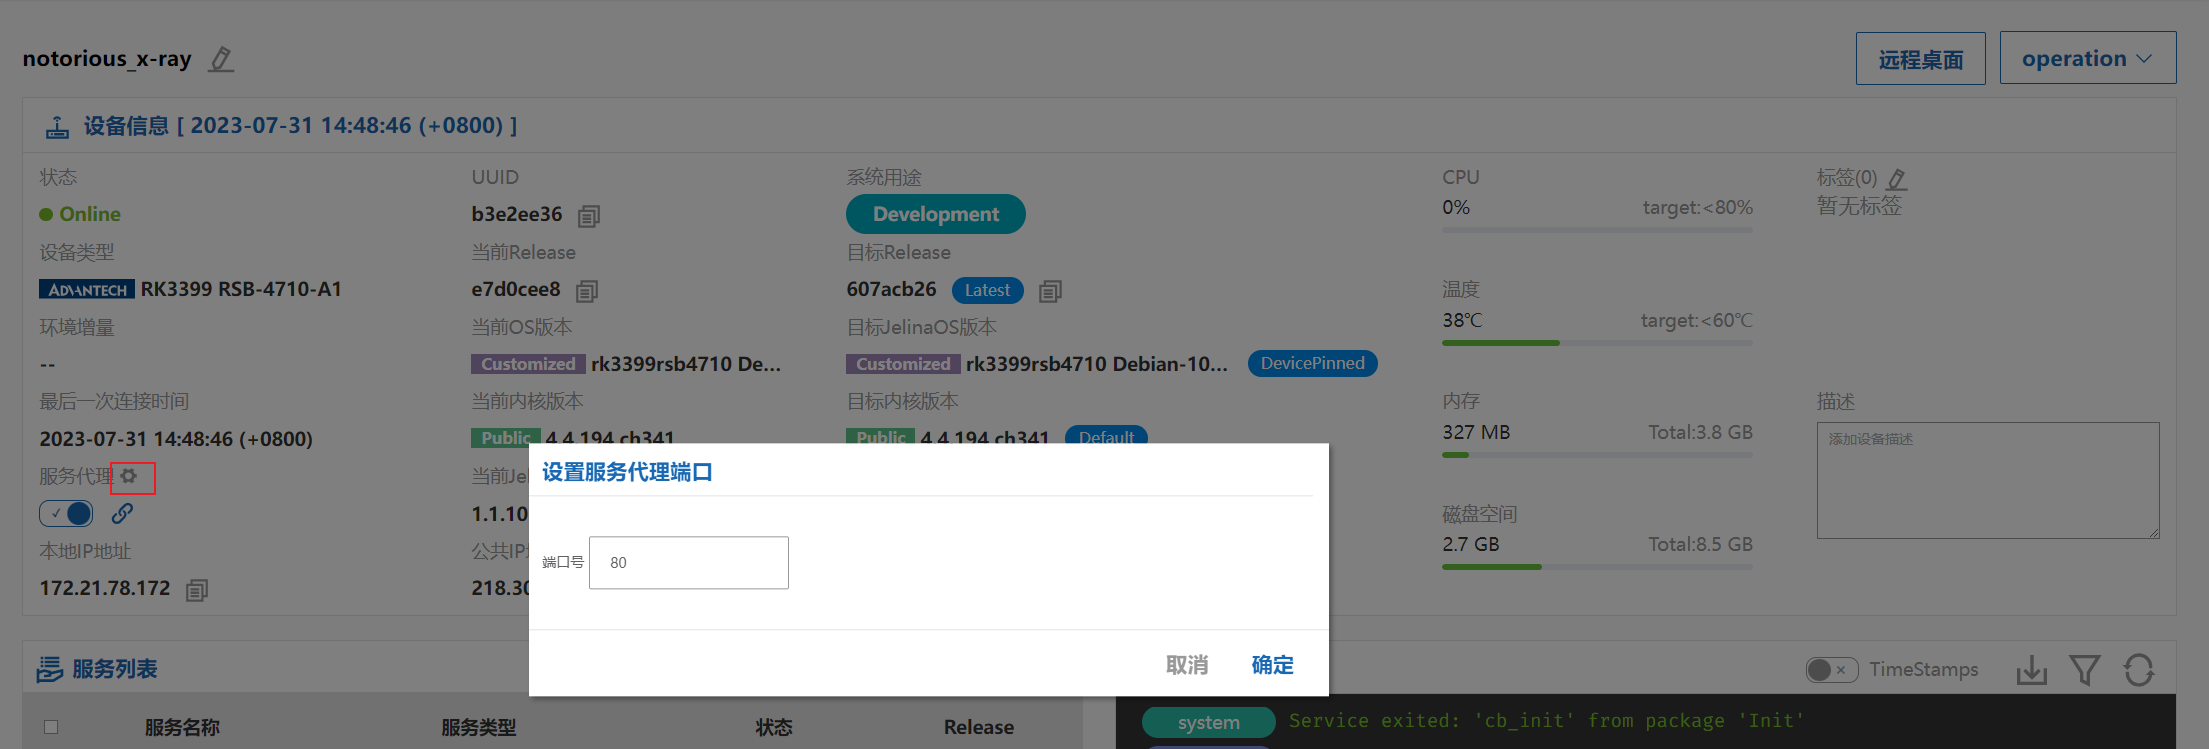
Section titled “Service proxy”Proxy a service on a device port. The default port is 80 and can be changed.
Note The device must be activated and Online to use this feature.
Open the device overview, enable the service proxy switch, then follow the link on the right.
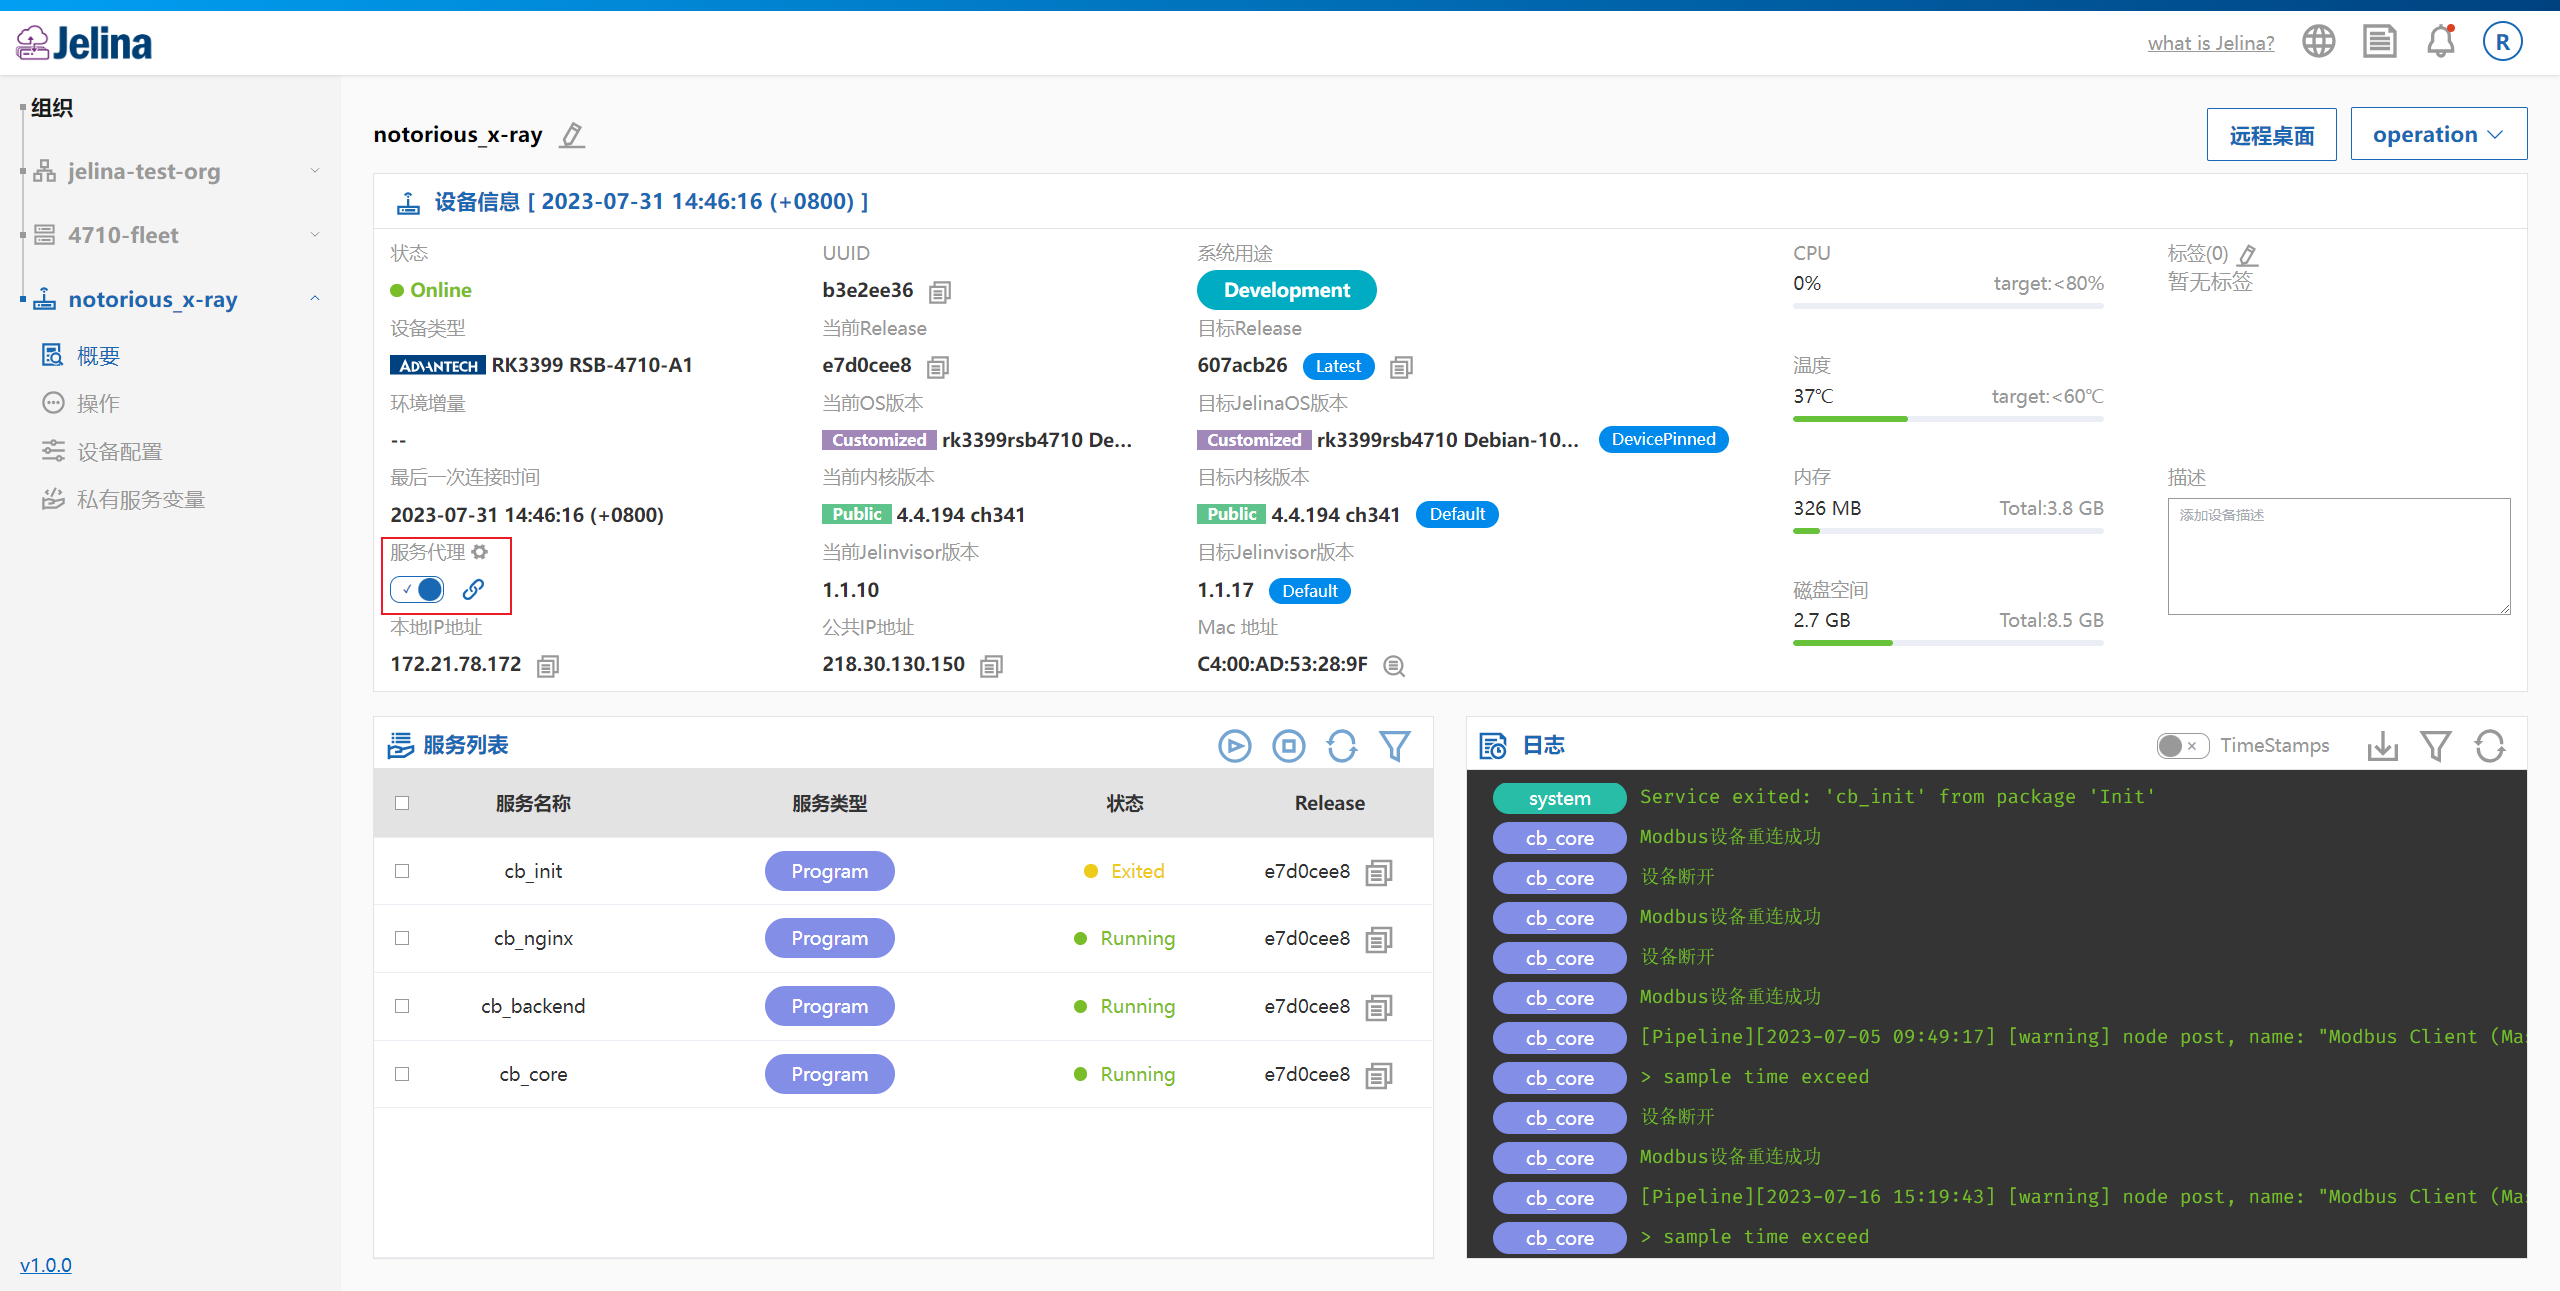
Edit the proxy port
Select the settings icon beside the service proxy field and change the port in the dialog.