Quick start
This guide walks through your first Modbus TCP acquisition scheme.
Temporarily disable the firewalls on your computer and device first.
1. Preparation
Section titled “1. Preparation”Prepare data for the Modbus Client (Master) to acquire, using these parameters:
| key | value |
|---|---|
| Protocol | Modbus TCP/IP |
| IP | 172.21.78.157 |
| Port | 502 |
| Slave ID | 1 |
| Function | Holding Registers |
| address | 0 |
| value | 100 |
| Format | Signed |
2. Create nodes
Section titled “2. Create nodes”(1) Open Digital Twin in CommBridge.
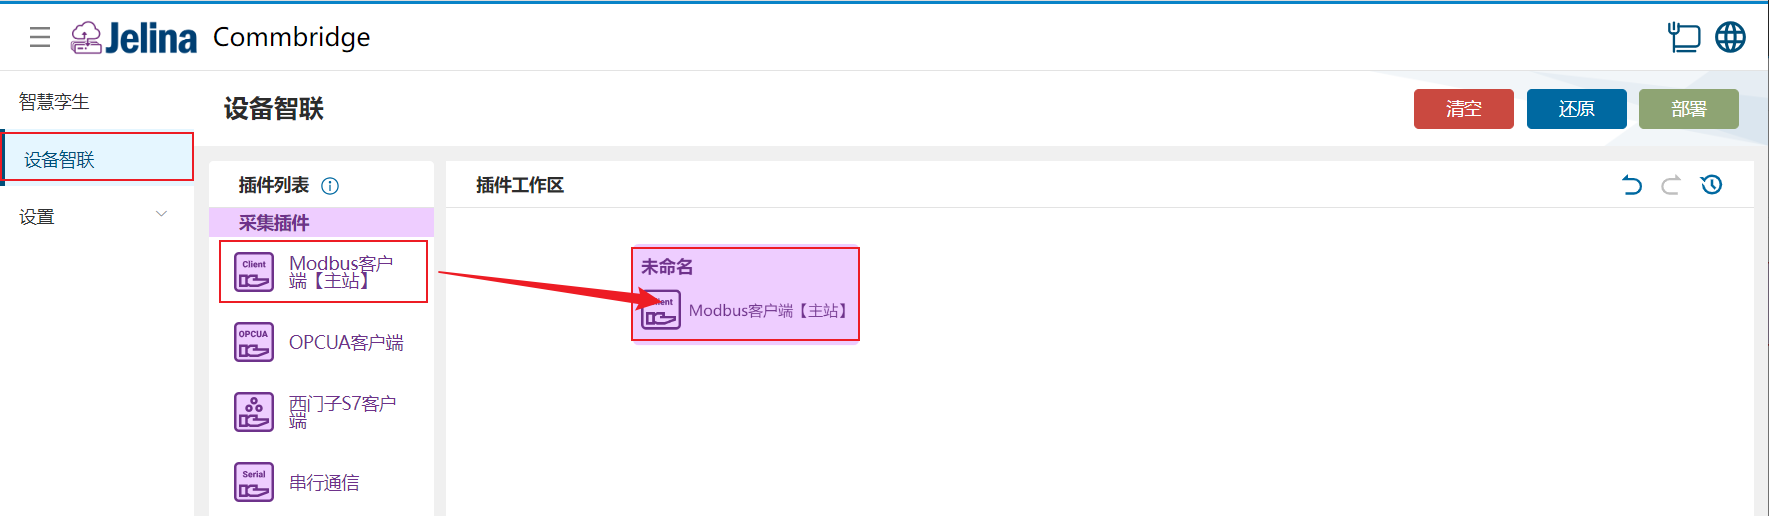
(2) Switch to Device Connectivity on the left. Drag Modbus Client (Master) into the plugin workspace to create a node.
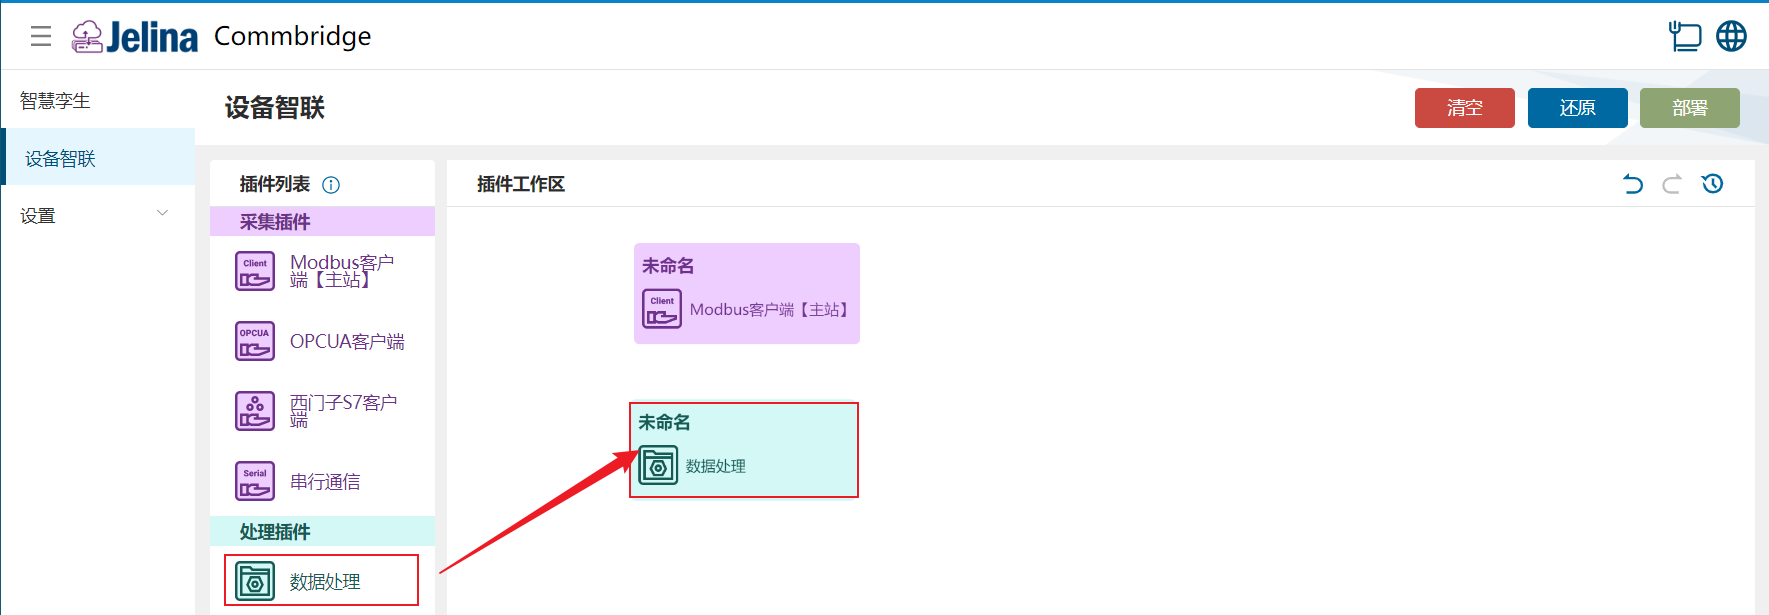
(3) Drag Data Processing into the workspace to create another node.
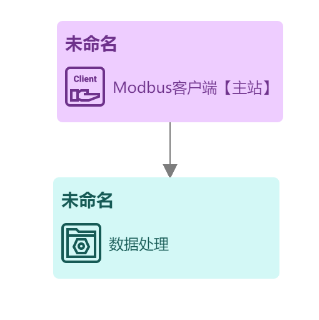
(4) Connect the nodes in order: Modbus Client (Master) → Data Processing.
3. Create a scheme
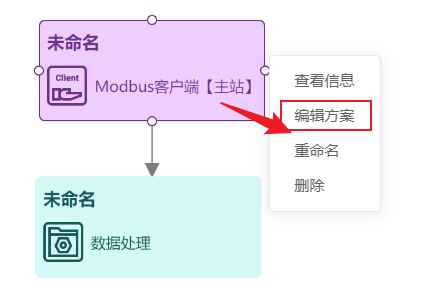
Section titled “3. Create a scheme”(1) Right-click the Modbus Client node and select Edit scheme.
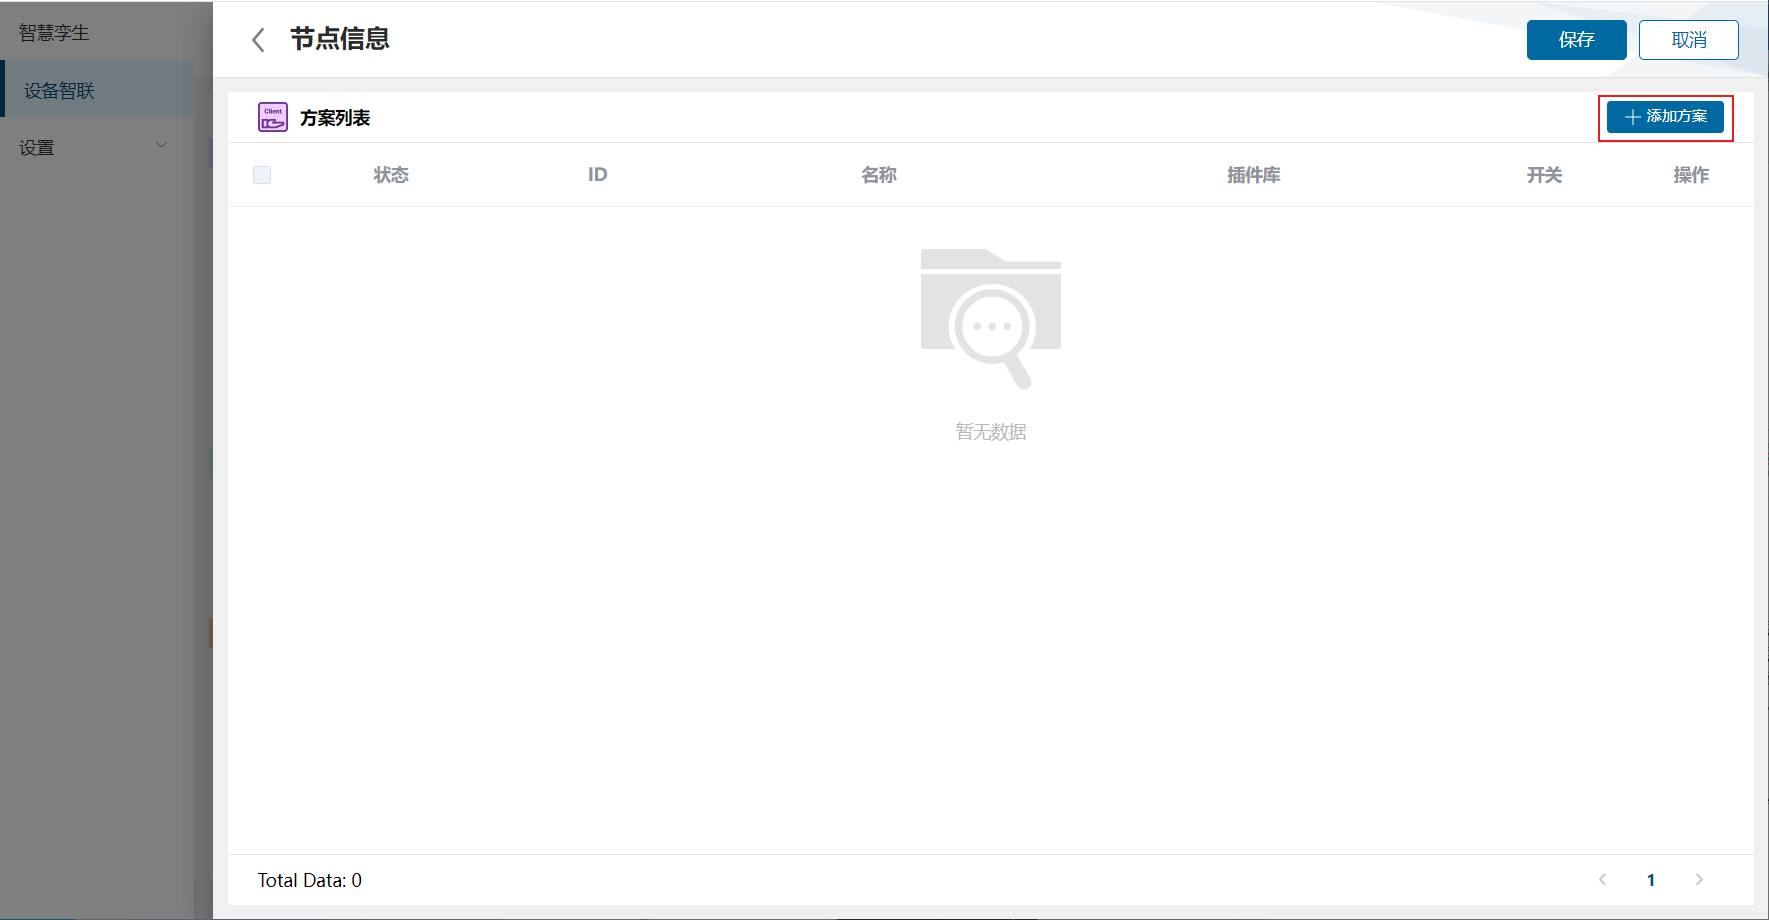
(2) In the Node information dialog, select Add scheme.
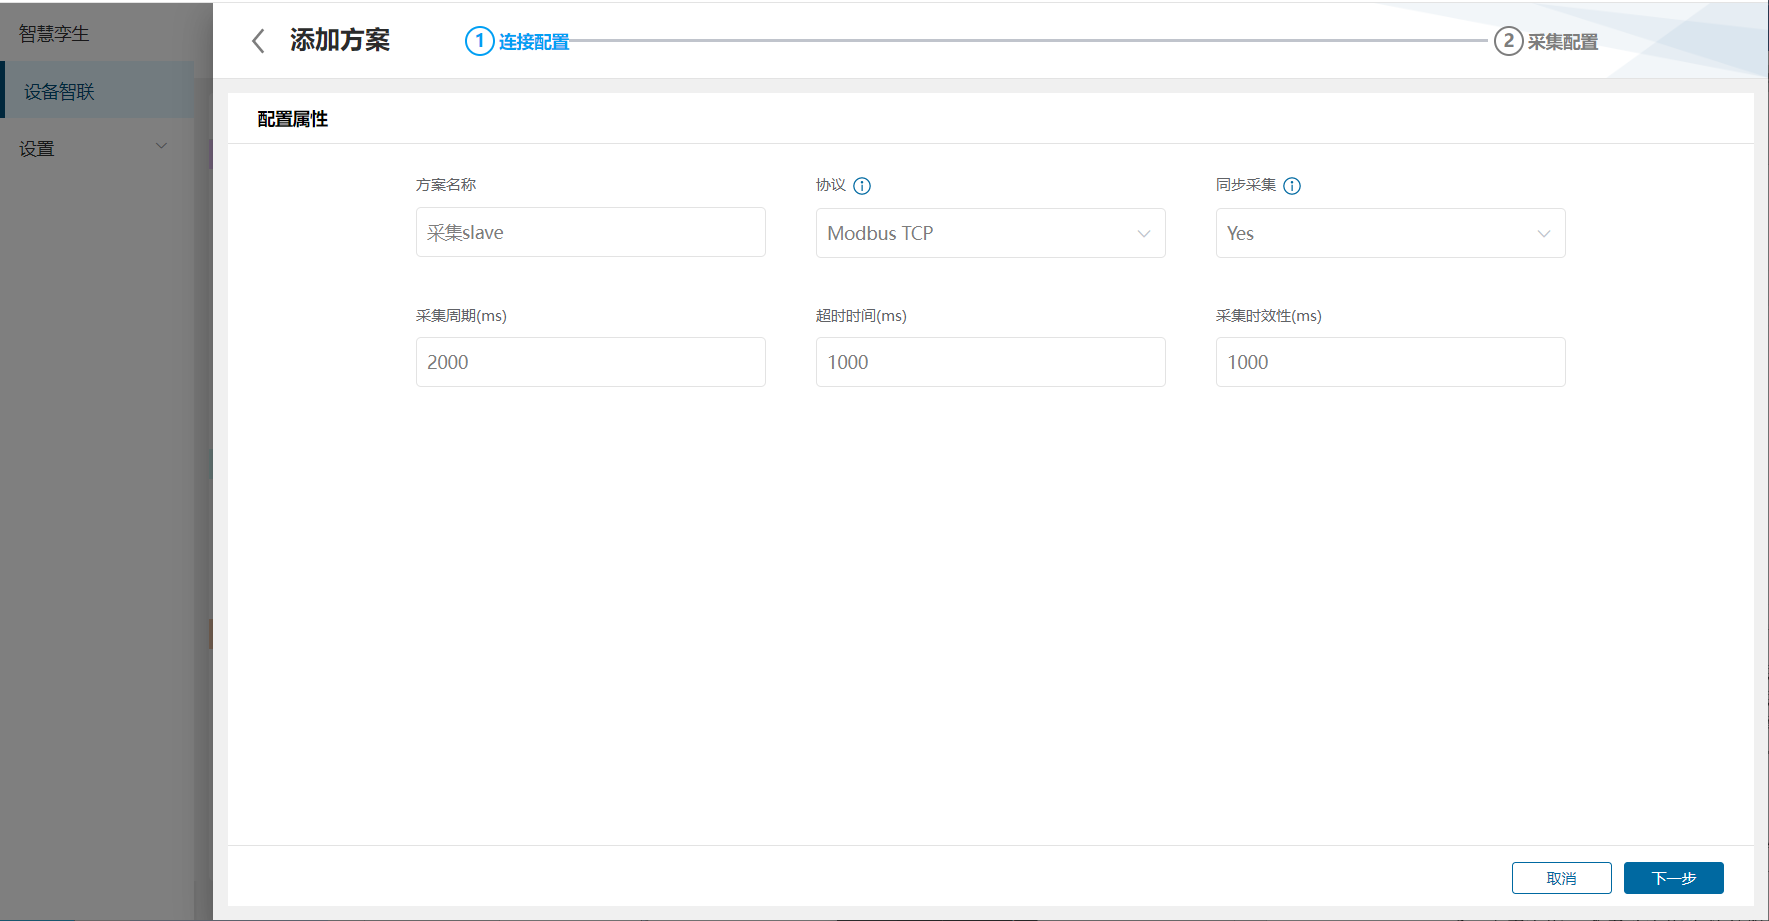
(3) Complete connection settings and select Next.
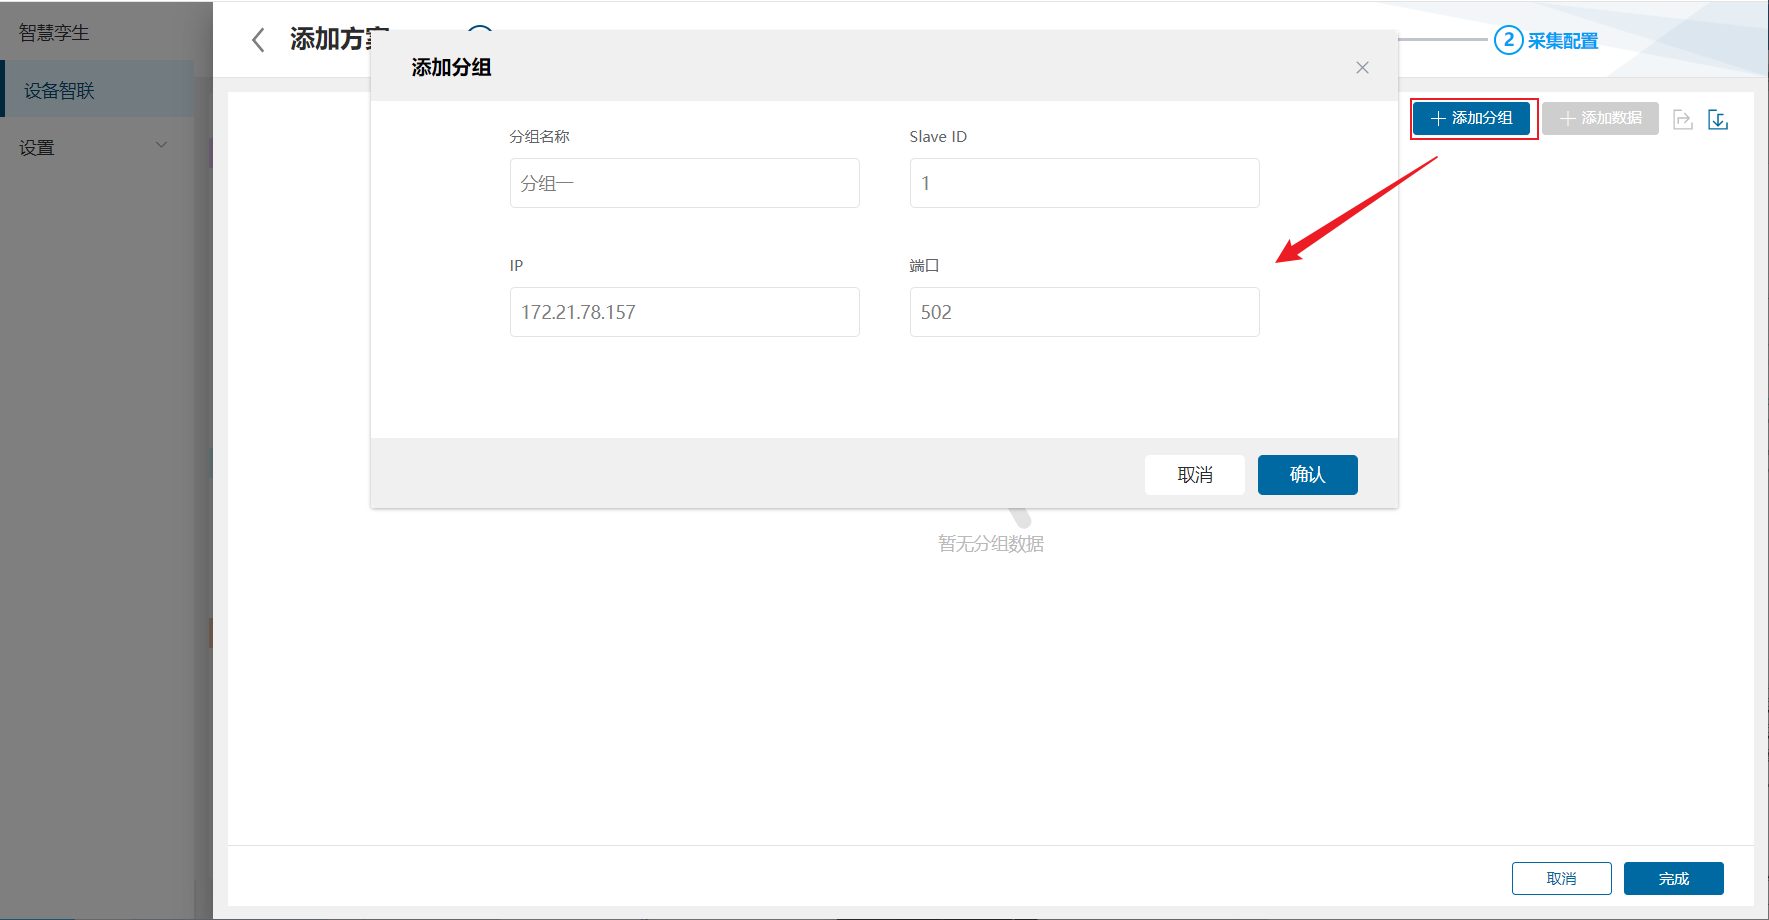
- Select Add group, configure it, and select Finish.
(5) Select Add data, configure it, and select Finish.
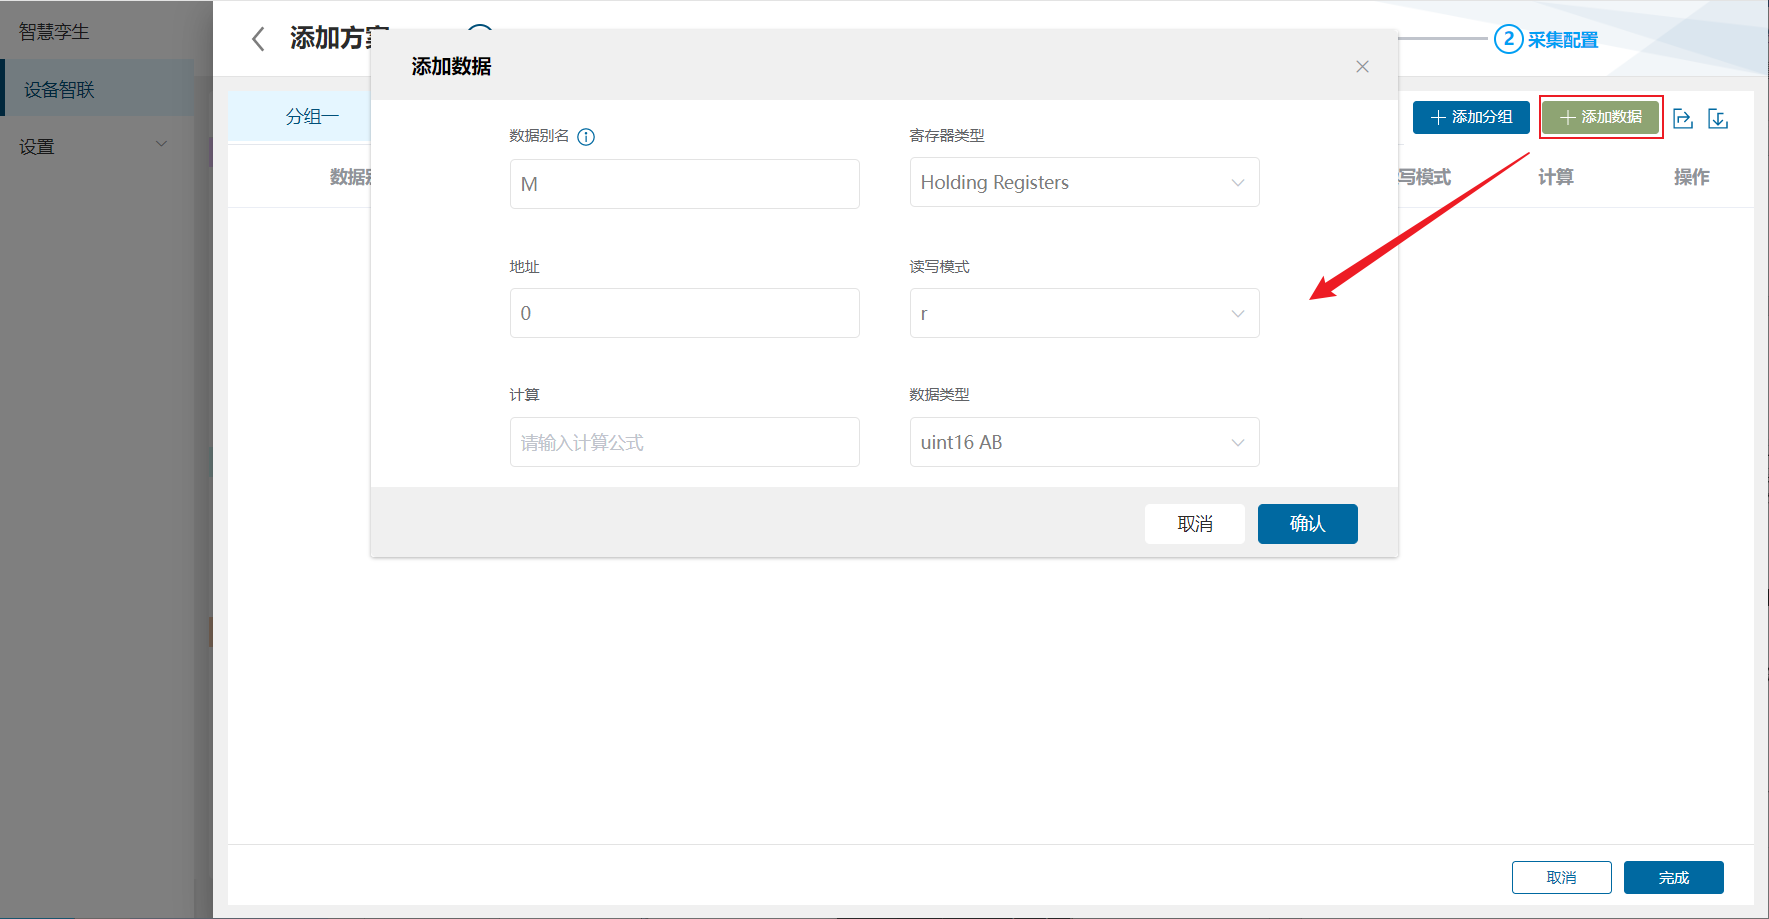
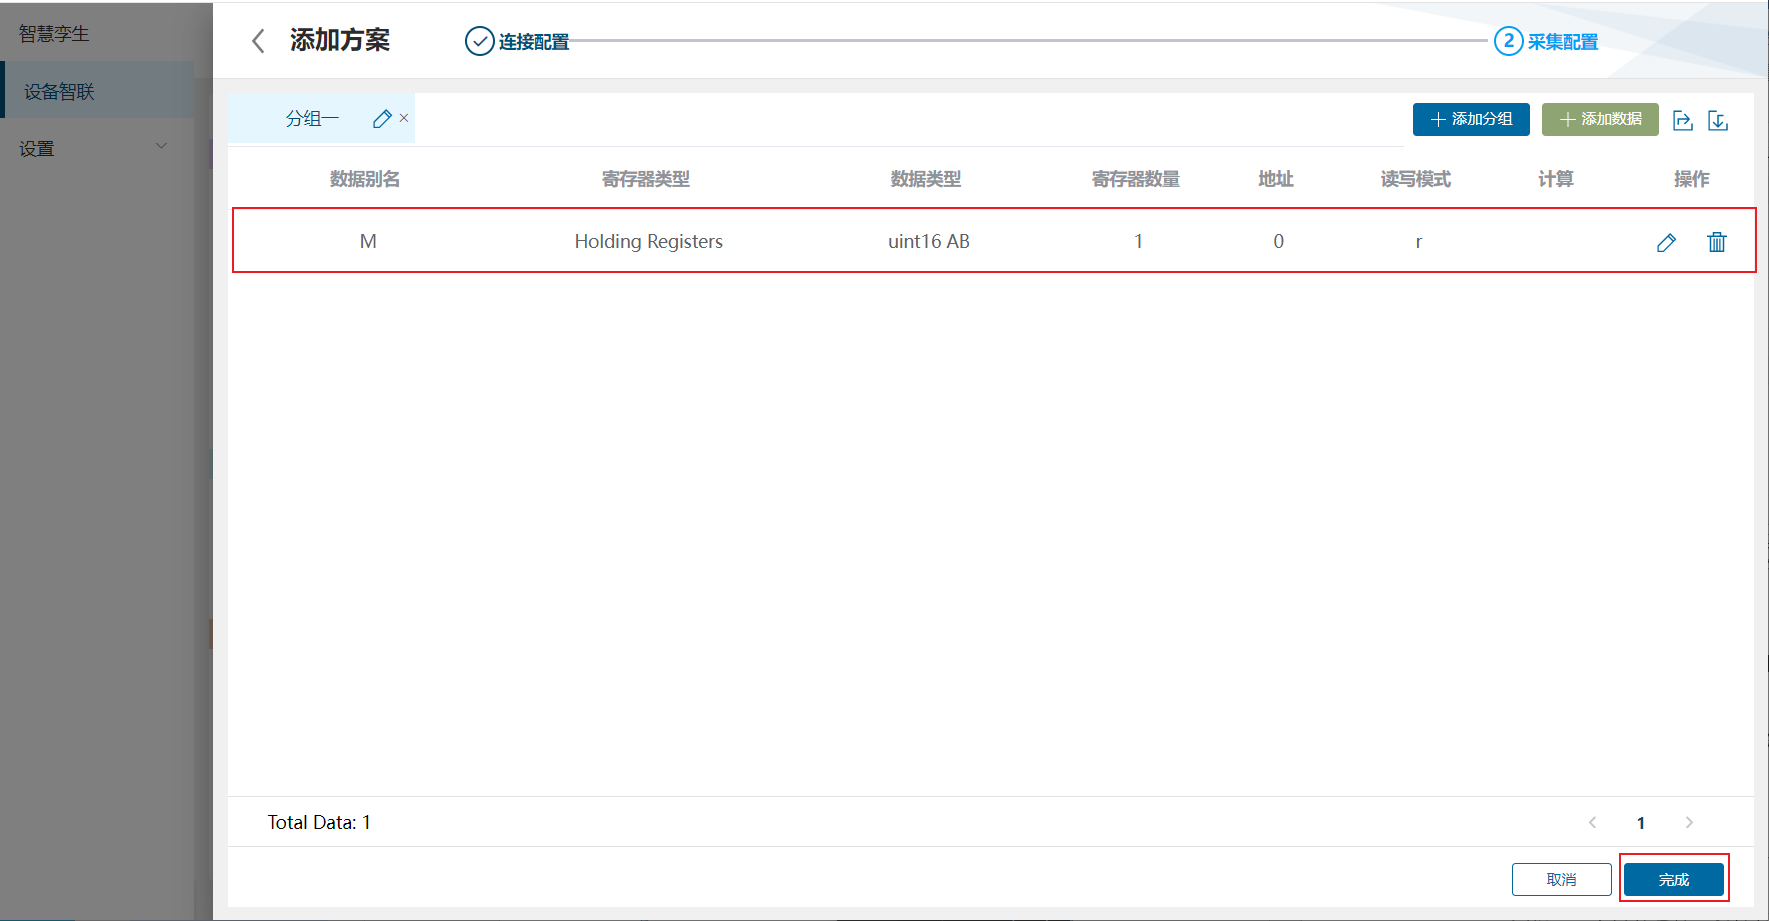
(6) Select Finish to add the acquisition scheme.
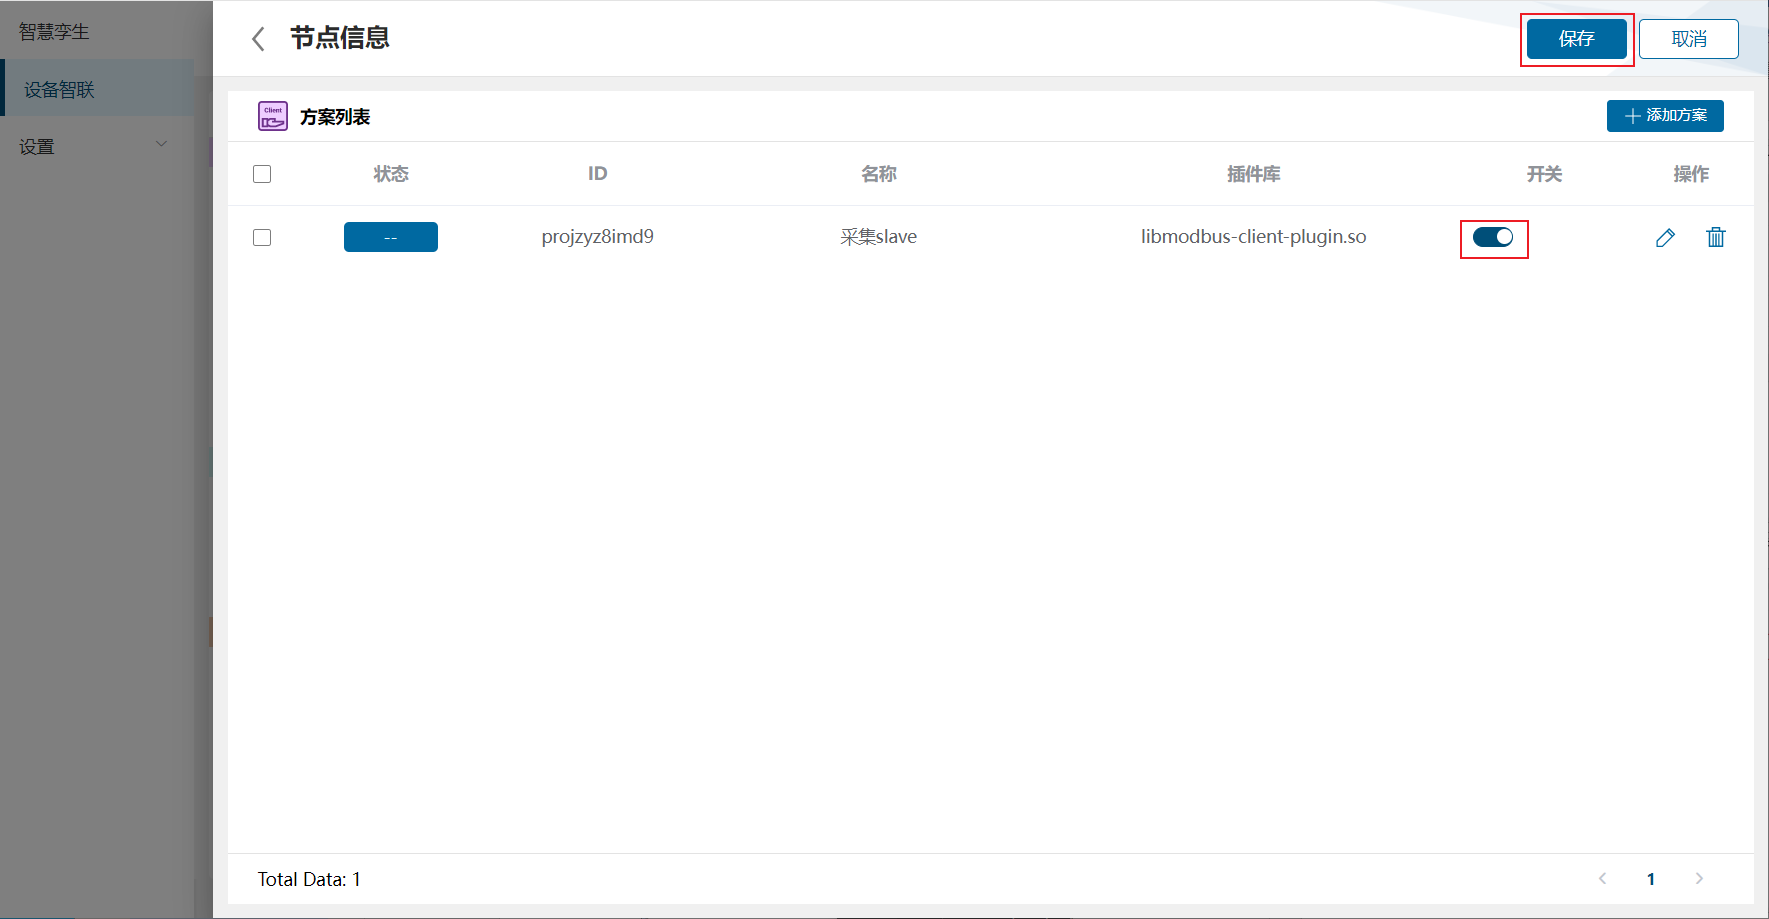
(7) Enable the scheme and select Save.
4. View real-time data
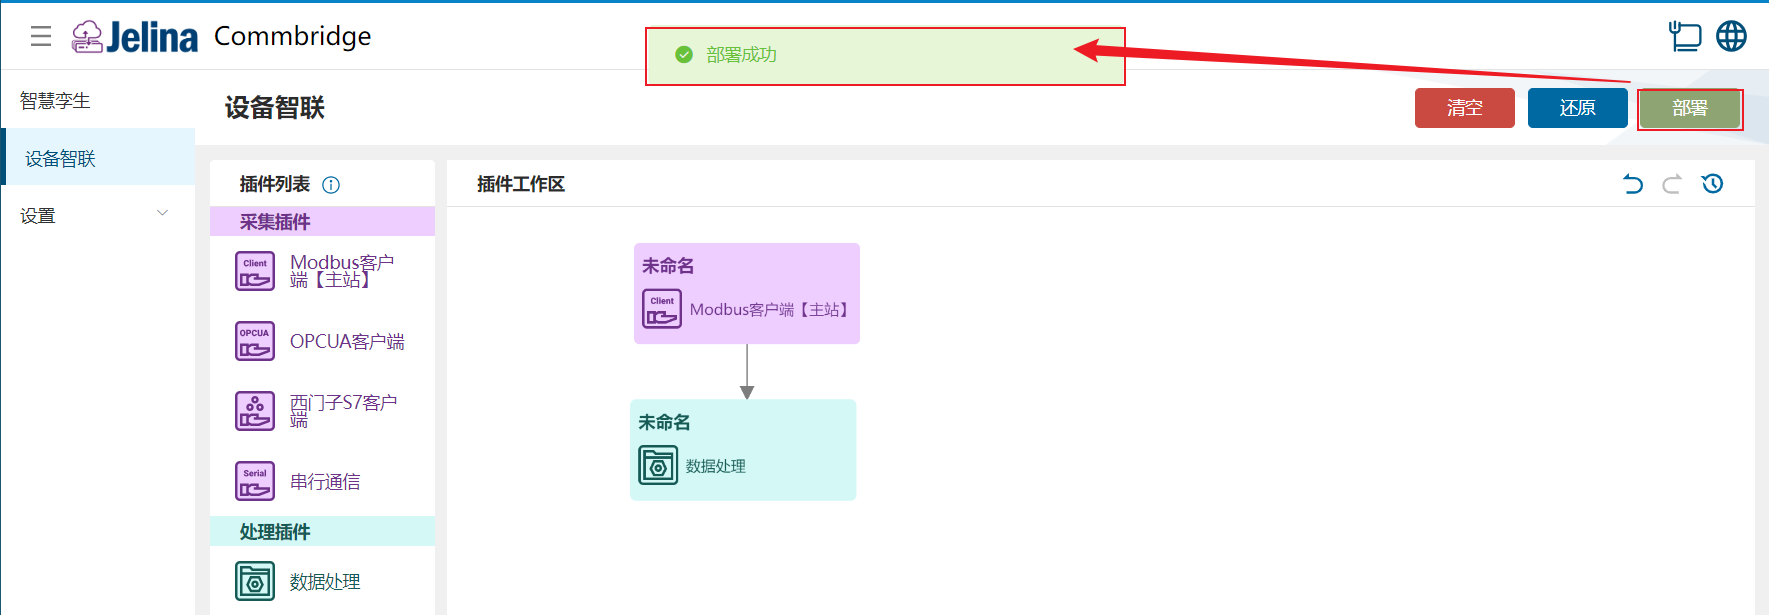
Section titled “4. View real-time data”(1) Select Deploy in Device Connectivity and wait for success.
(2) Switch to Digital Twin and hover over the Modbus Client node to display node information.
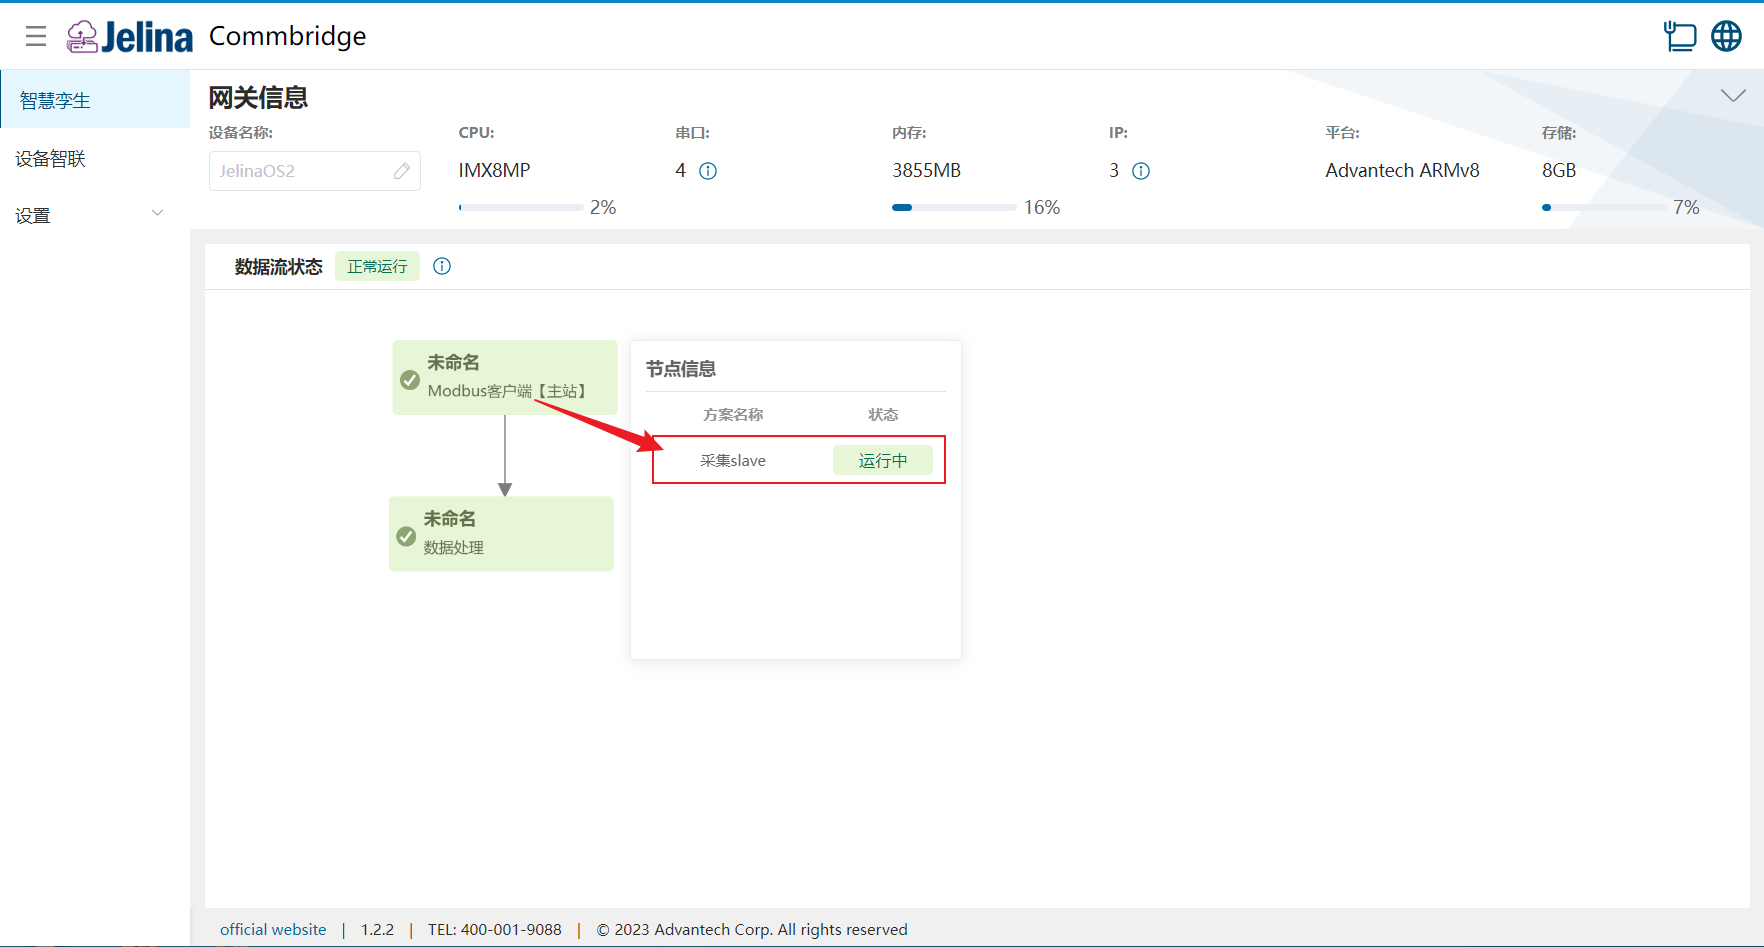
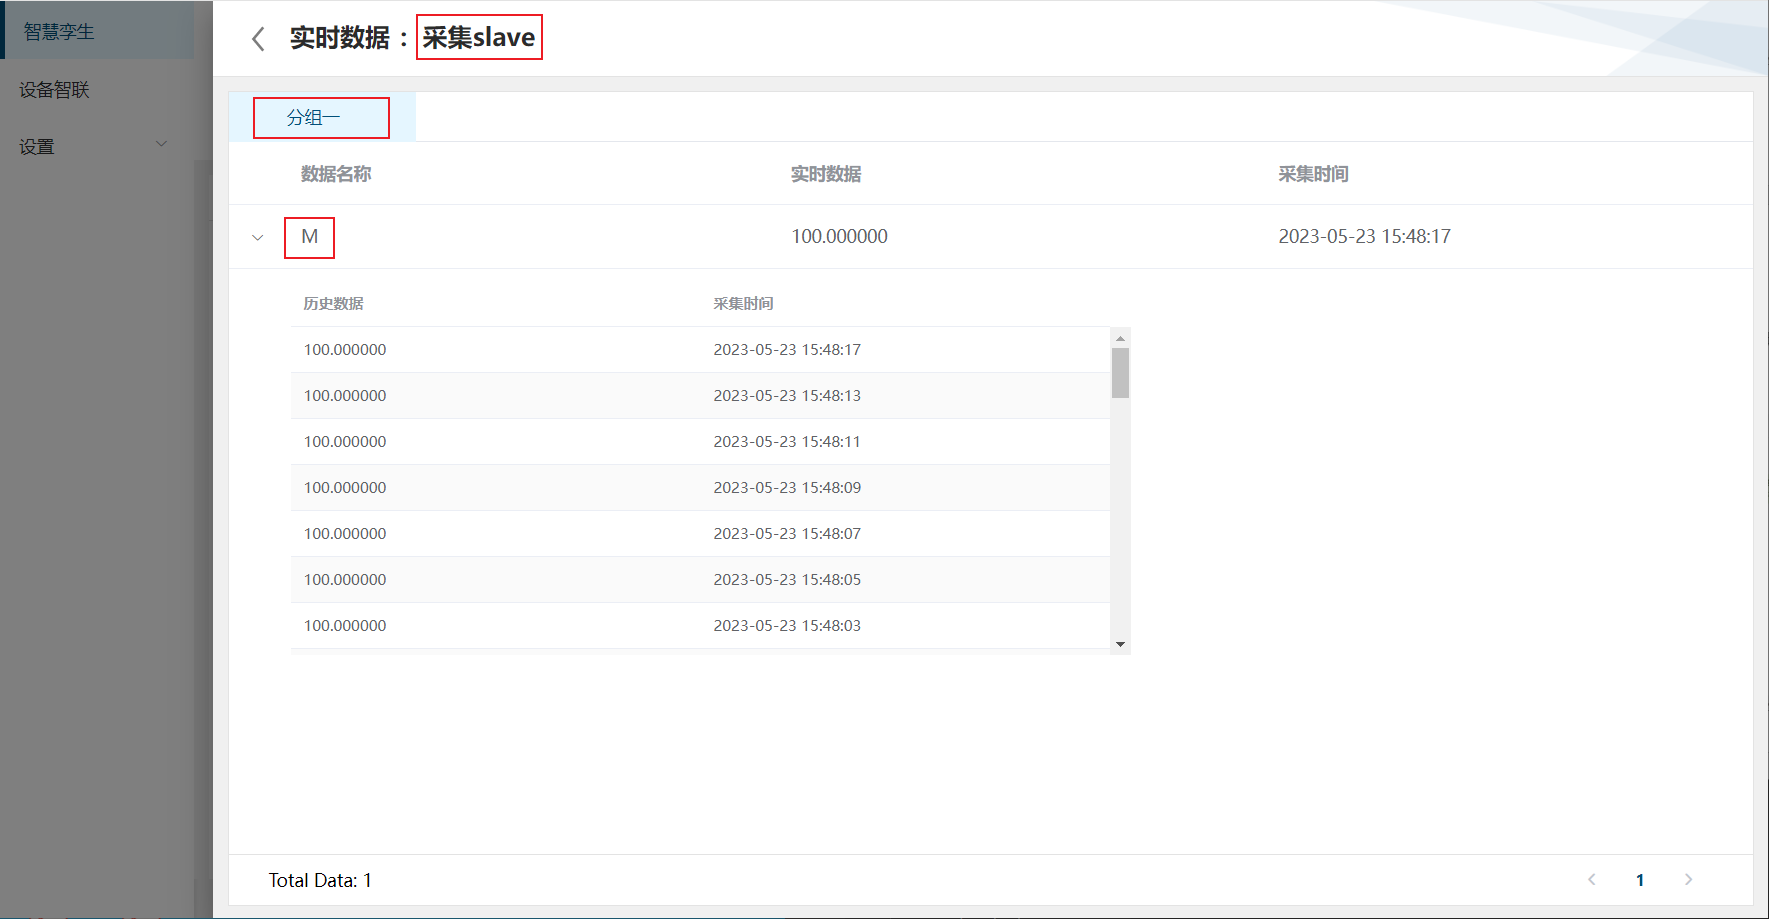
(3) Select a scheme to view real-time and historical data for points in its groups.