Node operations
Data flow and node configuration changes take effect only after deployment.
1. Add nodes
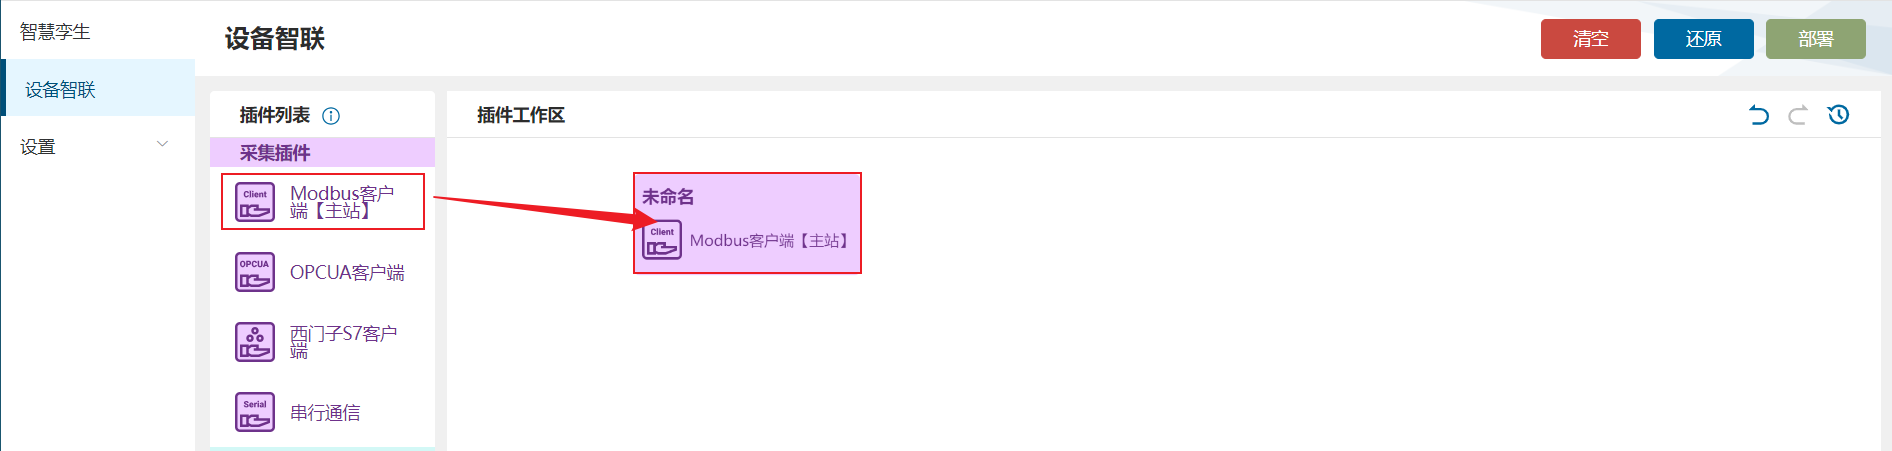
Section titled “1. Add nodes”Open Device Connectivity → Plugin list and drag a plugin into the central workspace to create a node.
Note: Inspect “Single instance only” in node information to check whether a plugin can be added only once. Some plugins, including Modbus Client (Master) and Modbus Server, allow only one instance.
2. View information
Section titled “2. View information”- View information
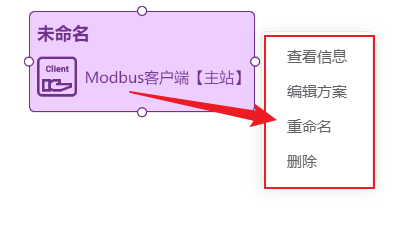
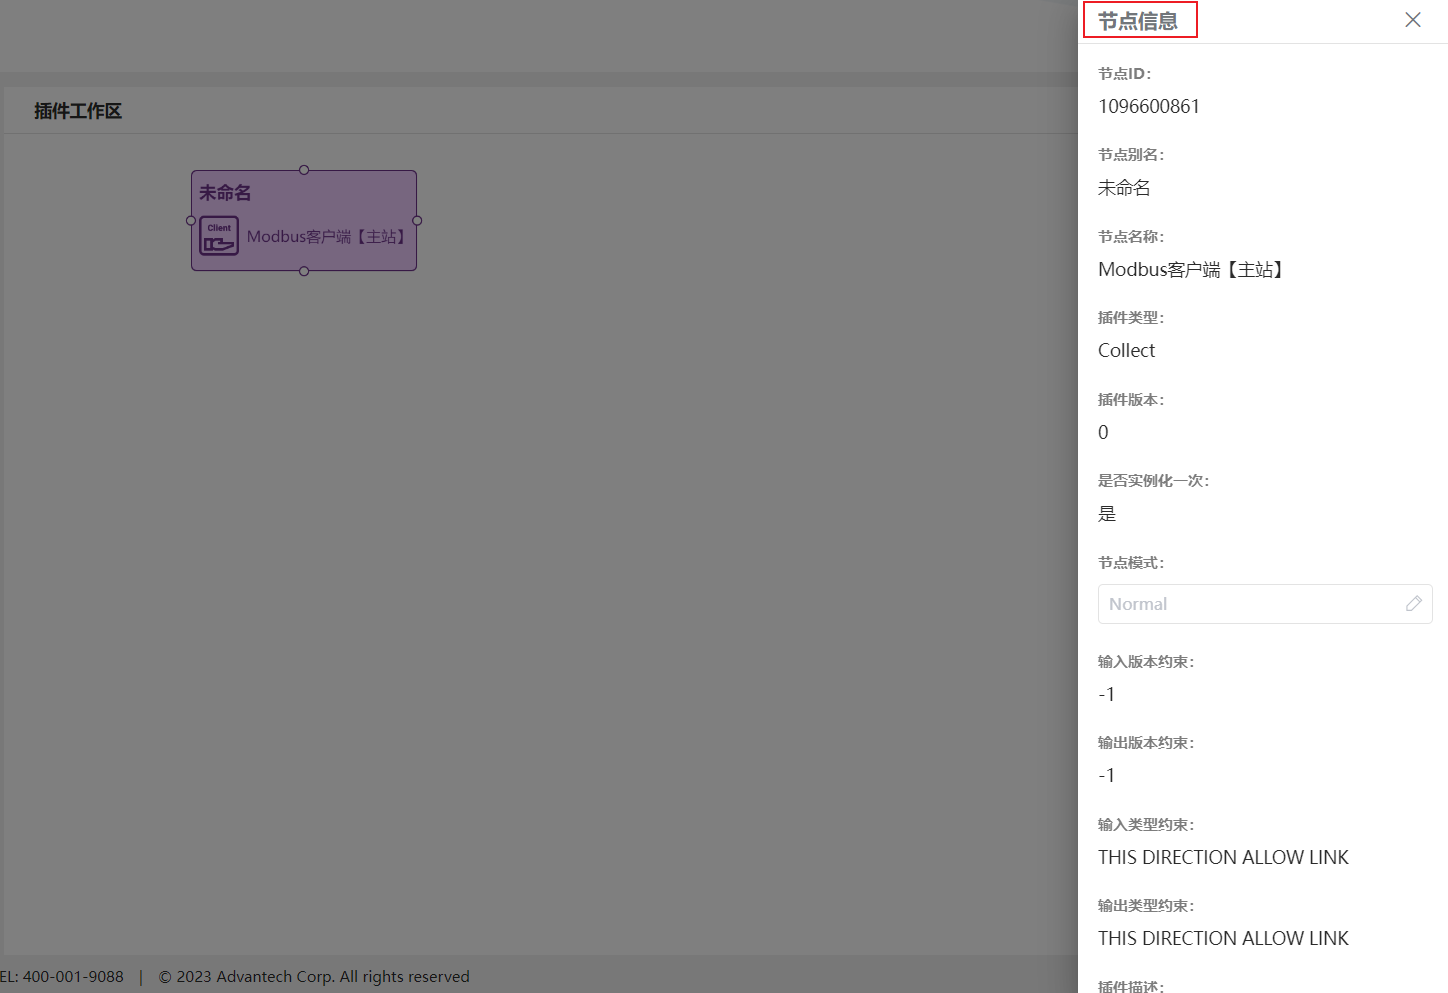
Right-click and select “View information” to open the node dialog.
- Edit information
If an Edit button is available, select it to switch to editing mode.
Node modes
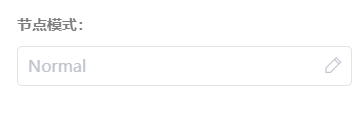
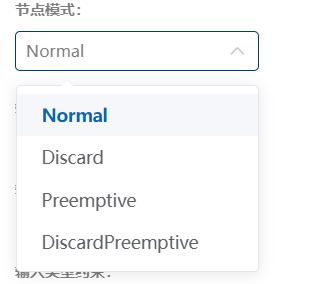
Section titled “Node modes”Node modes control how a node receives data: Normal, Discard, Preemptive, and DiscardPreemptive. They provide different strategies for downstream data consumption.
-
Normal: The default. Every child node can receive the acquired data. -
Discard: When the node’s data buffer is full, discard the oldest data before adding new data. -
Preemptive: Once one child receives a data item, other children cannot receive it. With only one child, this behaves like Normal. -
DiscardPreemptive: Combines discarding the oldest data with preemptive downstream consumption. Change node mode here as needed.
Different modes suit specific requirements. Preemptive mode can support load balancing. Discard mode suits acquisition faster than upload when acquisition must not block waiting for uploads. Normal ensures all child nodes receive identical data and is the default in most cases.
Initialization information
Section titled “Initialization information”Currently, only SQLite Data Storage applies edited initialization information. Enter the plugin size, such as 10KB or 10MB.
An input appears in edit mode.
3. Rename nodes
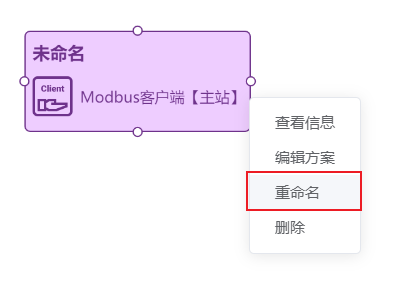
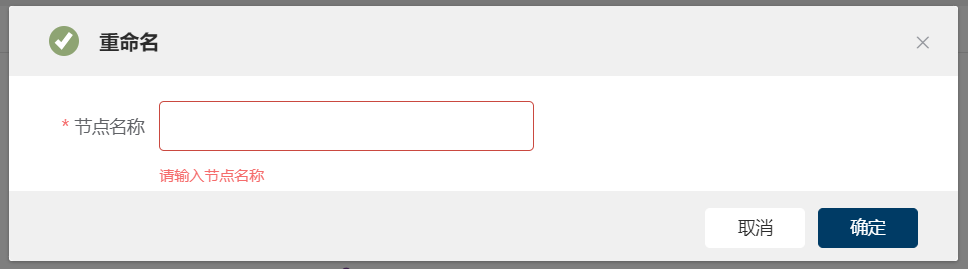
Section titled “3. Rename nodes”Right-click and select “Rename” to open the rename dialog.
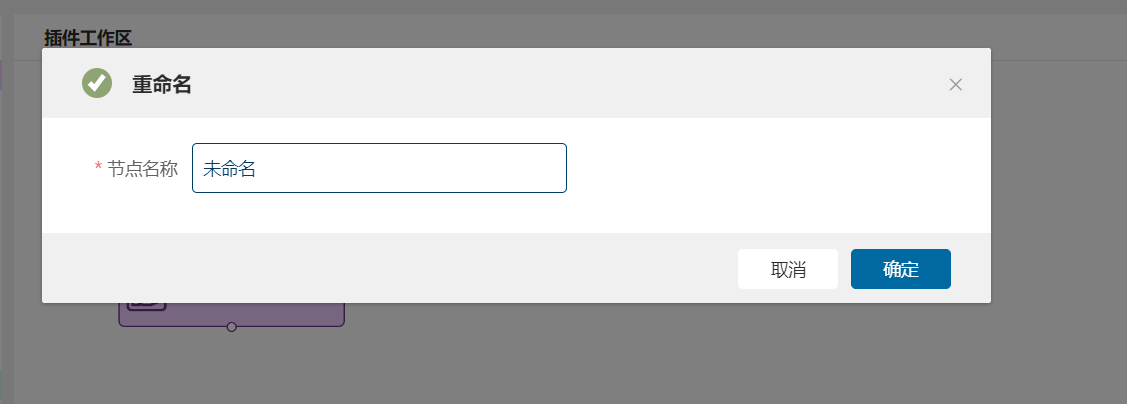
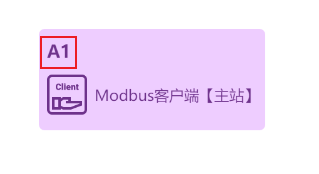
Note: Node names cannot be empty; names beginning with digits and decimal points cannot exceed 20 characters.
4. Delete nodes
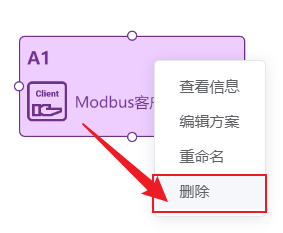
Section titled “4. Delete nodes”(1) Right-click and select “Delete.”
(2) Alternatively, select a node and press Backspace or Delete.
5. Edit nodes
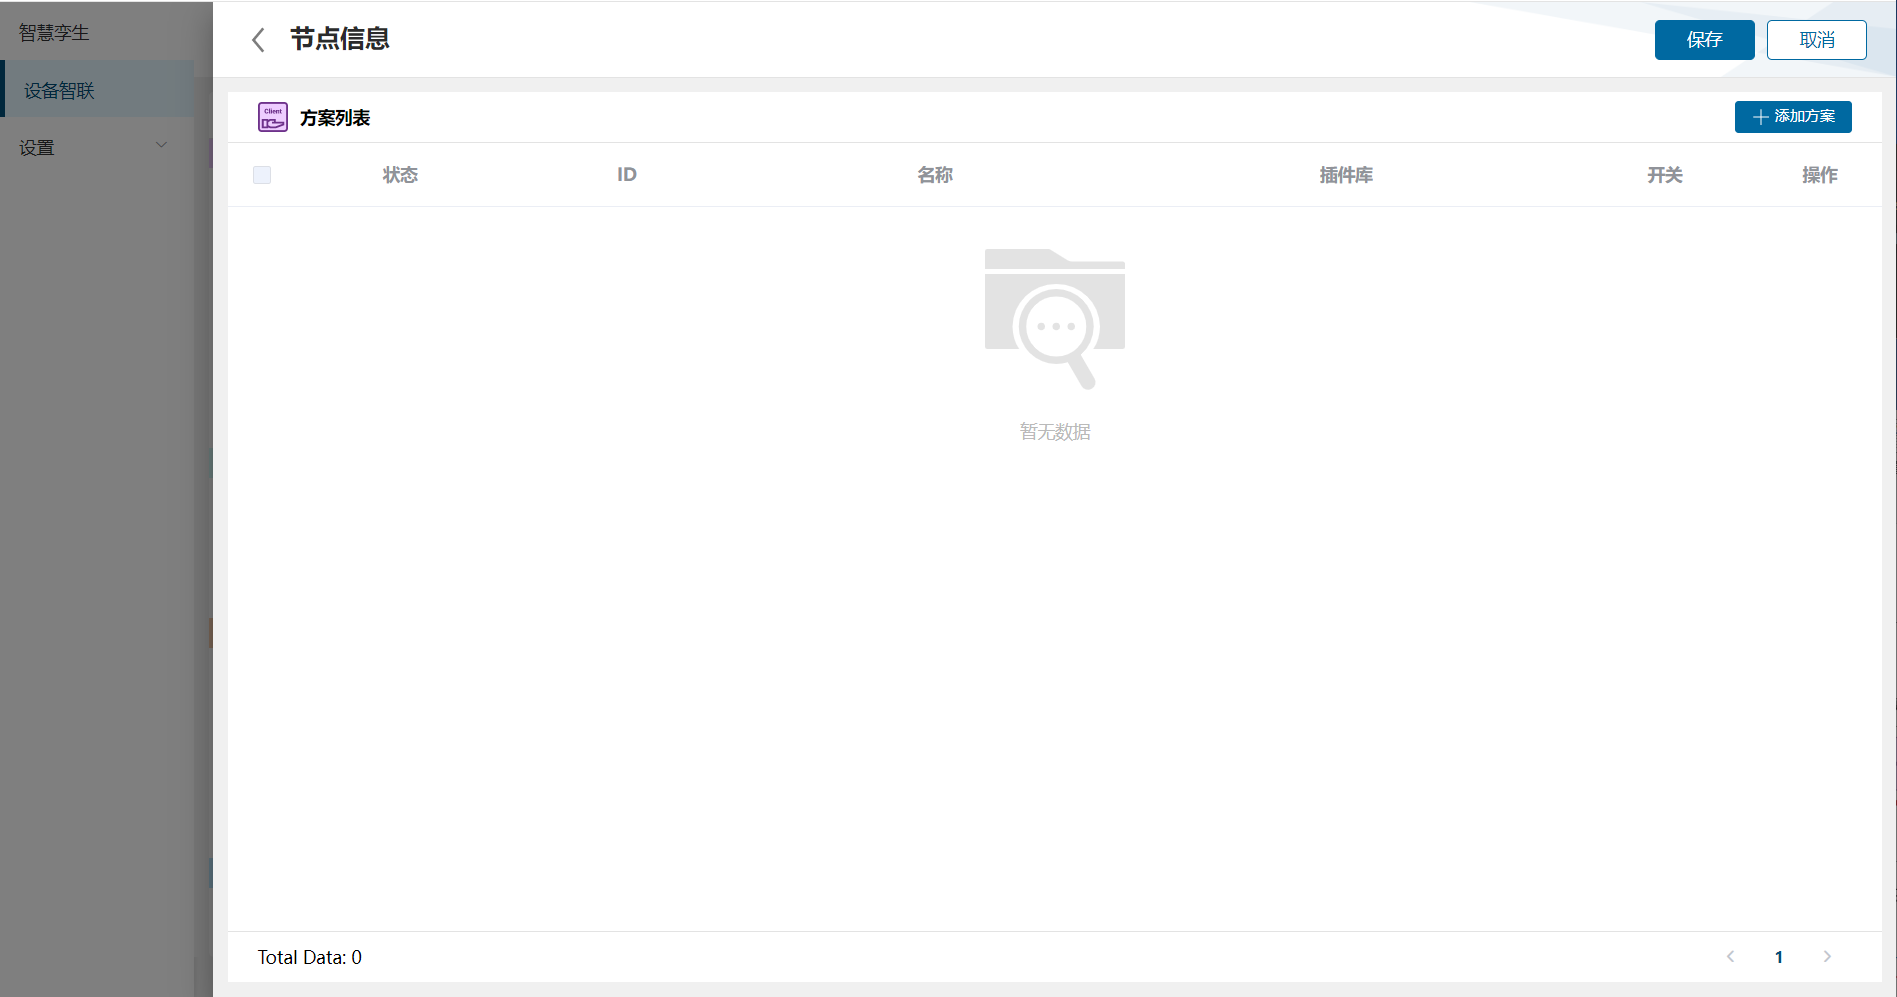
Section titled “5. Edit nodes”(1) Double-click a node to show basic information on the right.
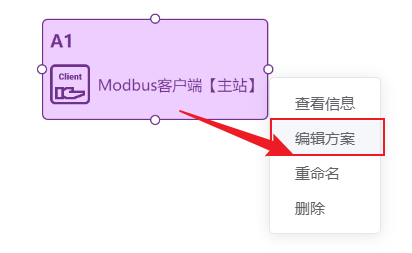
(2) Right-click and select “Edit scheme” to open the node editor.
Note: Processing plugins have neither an Edit button nor double-click functionality.
Each scheme list entry shows runtime status, name, enabled state, scheme ID, and plugin library name.
6. Node connections
Section titled “6. Node connections”Add connections
Section titled “Add connections”Hover over a node border to show a “+” connection marker. Hold the left mouse button, drag to another node, and release to connect.
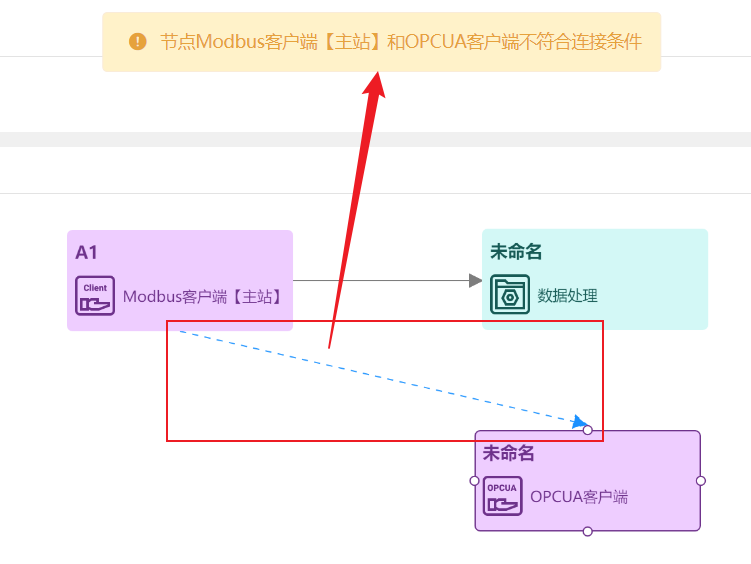
Connections require both nodes to satisfy compatibility conditions. Invalid connections display a prompt; for example, OPCUA Client cannot have upstream nodes.
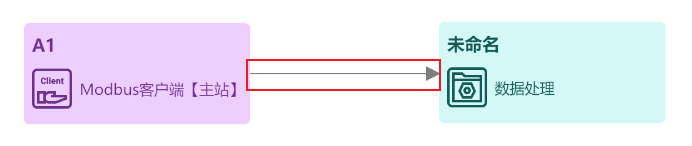
The following connects Modbus Client (Master), acquisition plugin Modbus Client, to Data Processing, plugin Data Process.
Connecting Modbus Client (Master) to OPCUA Client, another acquisition plugin, does not meet connection requirements.
Delete connections
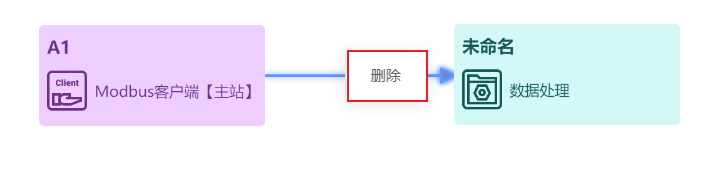
Section titled “Delete connections”Right-click a connection to show its deletion popup.